
Setting Up an Online Store
Getting Started
IMPORTANT: This lesson will teach you the basic setup of a e-commerce site, but you will have to do more learning and research on your own if you want to add advanced features, like product attributes and integrated shipping.
Allowing Registration
In order for people to make accounts on your website, you first need to go to Settings > General > Membership, and then check the box “Anyone can register.”
Adding Plugins
Install and activate the following plugins:
- WooCommerce
- WooCommerce Shipping & Tax
- WooPayments
- WooCommerce Cart Abandonment Recovery by Cartflow
WooCommerce Pages
By installing the plugin, the necessary WooCommerce pages should be automatically created.
Check if you have the following pages in Pages:
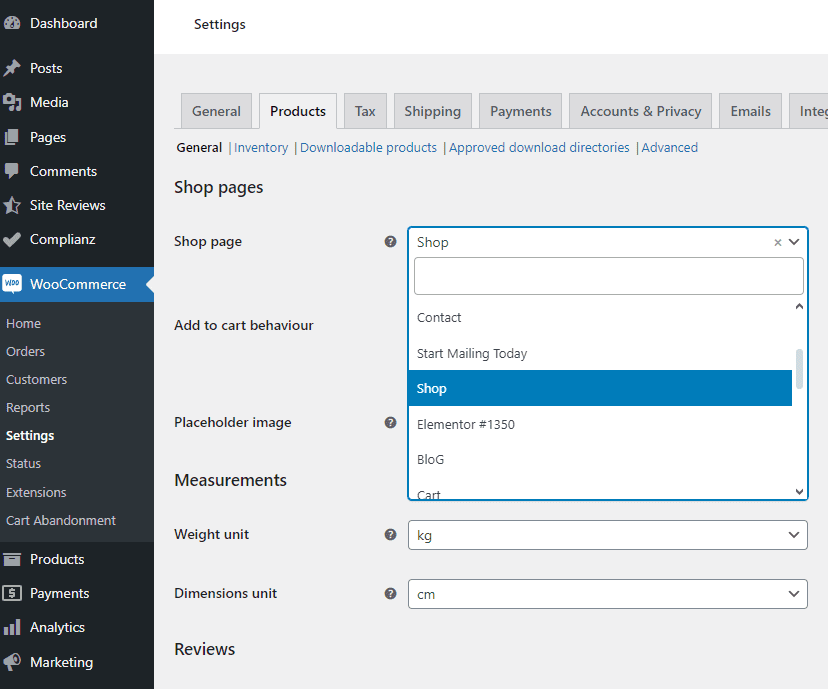
- Shop – The shop page may have a different name because of your Astra template. You can see what the page title is by going to WooCommerce > Settings > Products > Shop Page
- My Account
- Cart
- Checkout
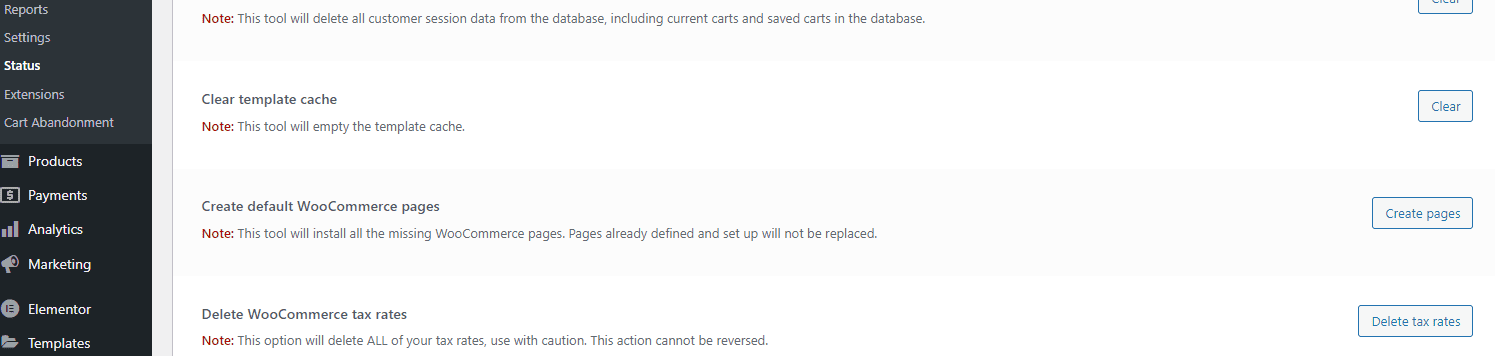
If you don’t see these pages or only some, go to WooCommerce > Status > Tools and scroll down to Create default WooCommerce Pages and click “Create Pages.”
Configuring WooCommerce
WooCommerce Settings > General
Add your business address information.
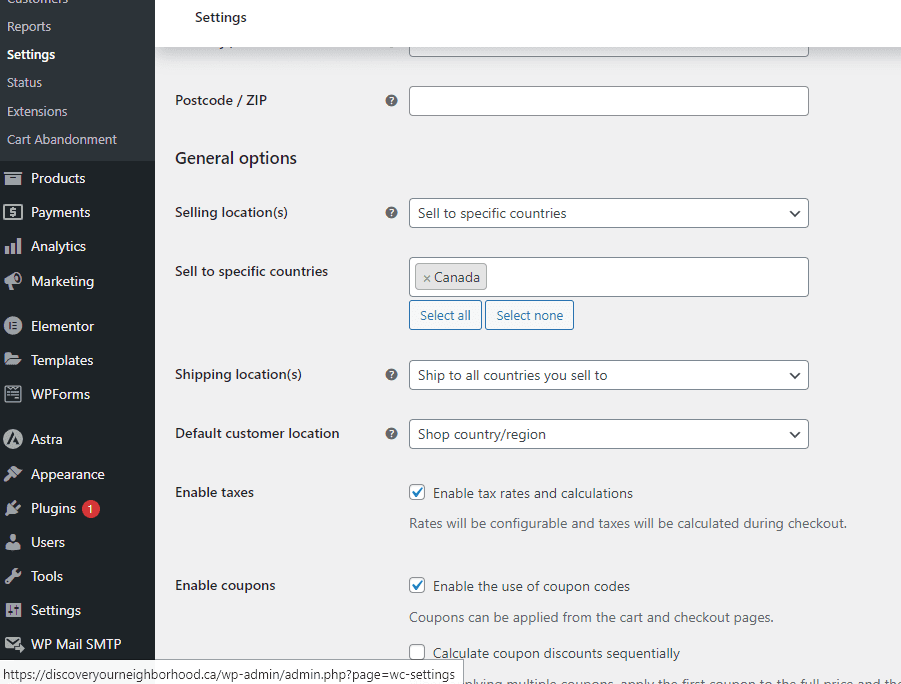
For Selling Locations, choose the one that suits you best, but most likely, it’ll be “Sell to specific countries” and then choose those countries in the list.
For Shipping Locations, choose “Disable shipping & shipping calculations” because you won’t be adding shipping right away. For information about configuring shipping, scroll down to the Where to Learn More section.
For Default Customer Location, choose “Shop country/region” if it’s not the default.
For Enable Taxes, check the box “Enable tax rates and calculations.”
For Enable Coupons, check the box “Enable the use of coupon codes” to offer discounts.
Under currency, choose the currency you prefer and leave everything else.
Make sure to click save.
WooCommerce Settings > Product
Again, make sure the correct shop page is selected under Shop Page.
For Enable Reviews, check the box “Enable product reviews” if you want customers to be able to leave reviews on the individual product pages.
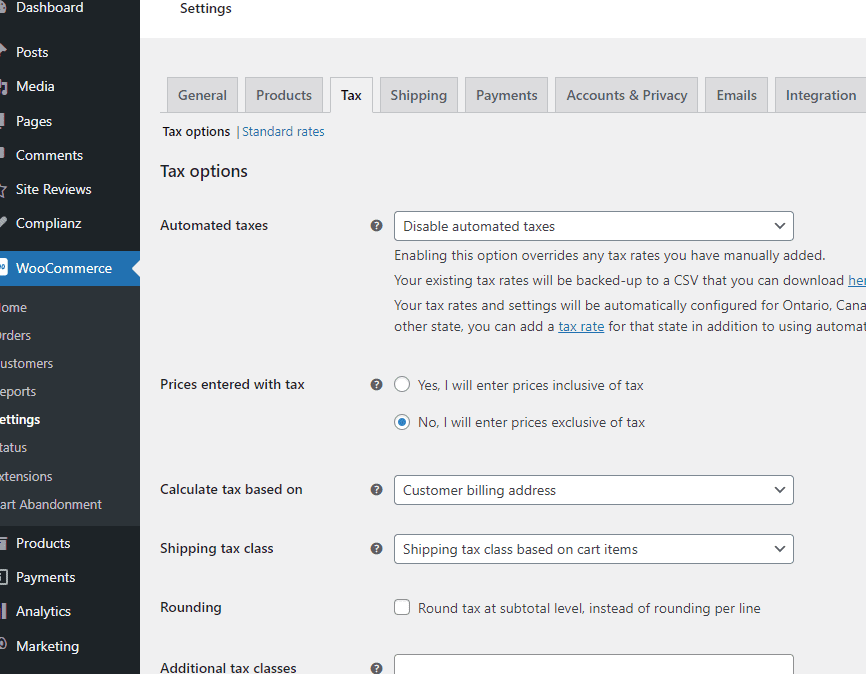
WooCommerce Settings > Tax
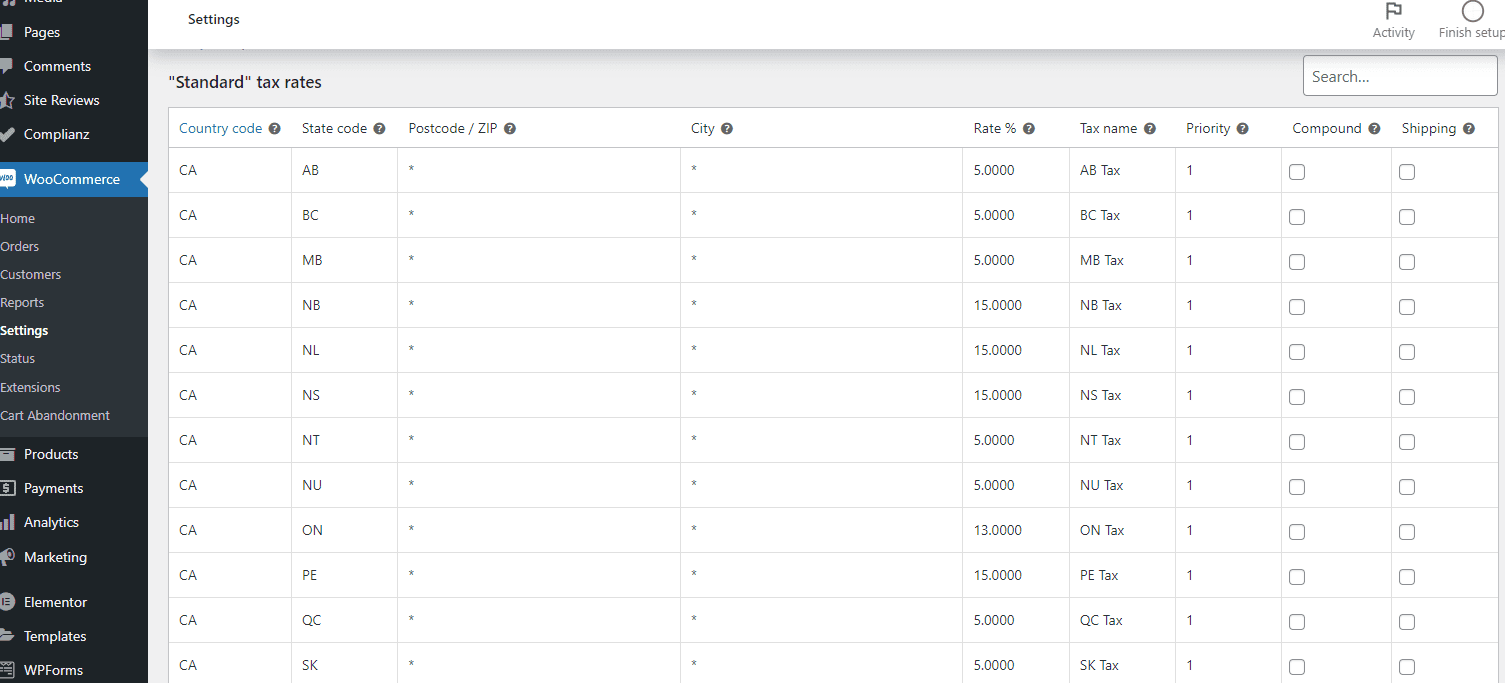
For Automated Taxes, choose “Disable Automated Tax,” because the automation requires you to install another plugin. Instead of adding yet another plugin, you can download this CSV file of mine with tax rates for each province and territory in Canada and then upload under Standard Rates.
To import, go to Standard Rates, click on “Import CSV” and then you should see the table of tax rates populate when you’re done.
Back to Tax Options
I recommend making your prices exclusive of tax, so customers see the product price and the tax amount separately.
So for Prices Entered With Tax, choose “No, I will enter prices exclusive of tax.”
For Calculate Tax Based On, choose “Customer Billing Address.”
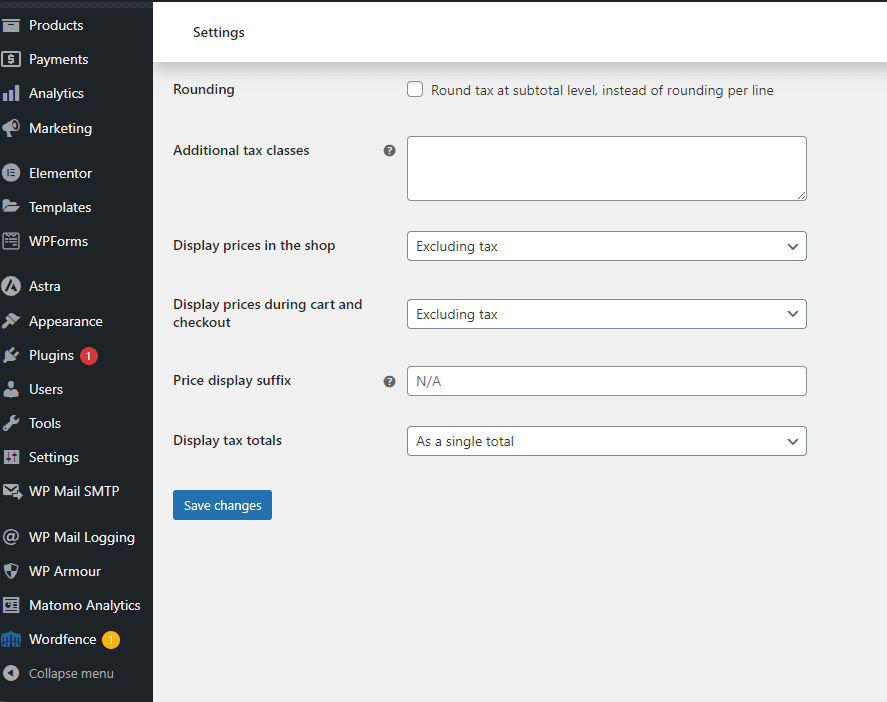
For Display Prices in Shop and Display Prices During Cart and Checkout, choose “Excluding tax.”
For Display Tax Totals, choose “As single total,” so the tax amounts for all products in a cart added together.
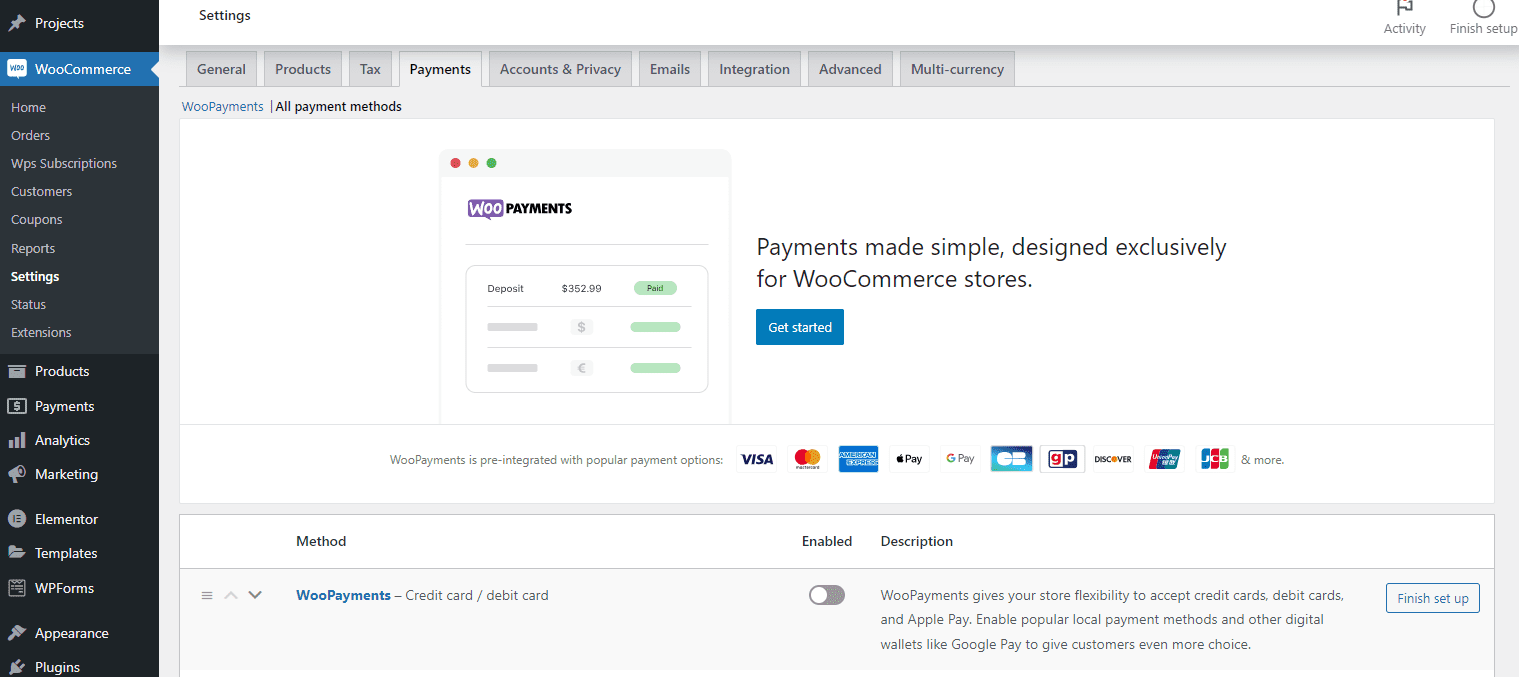
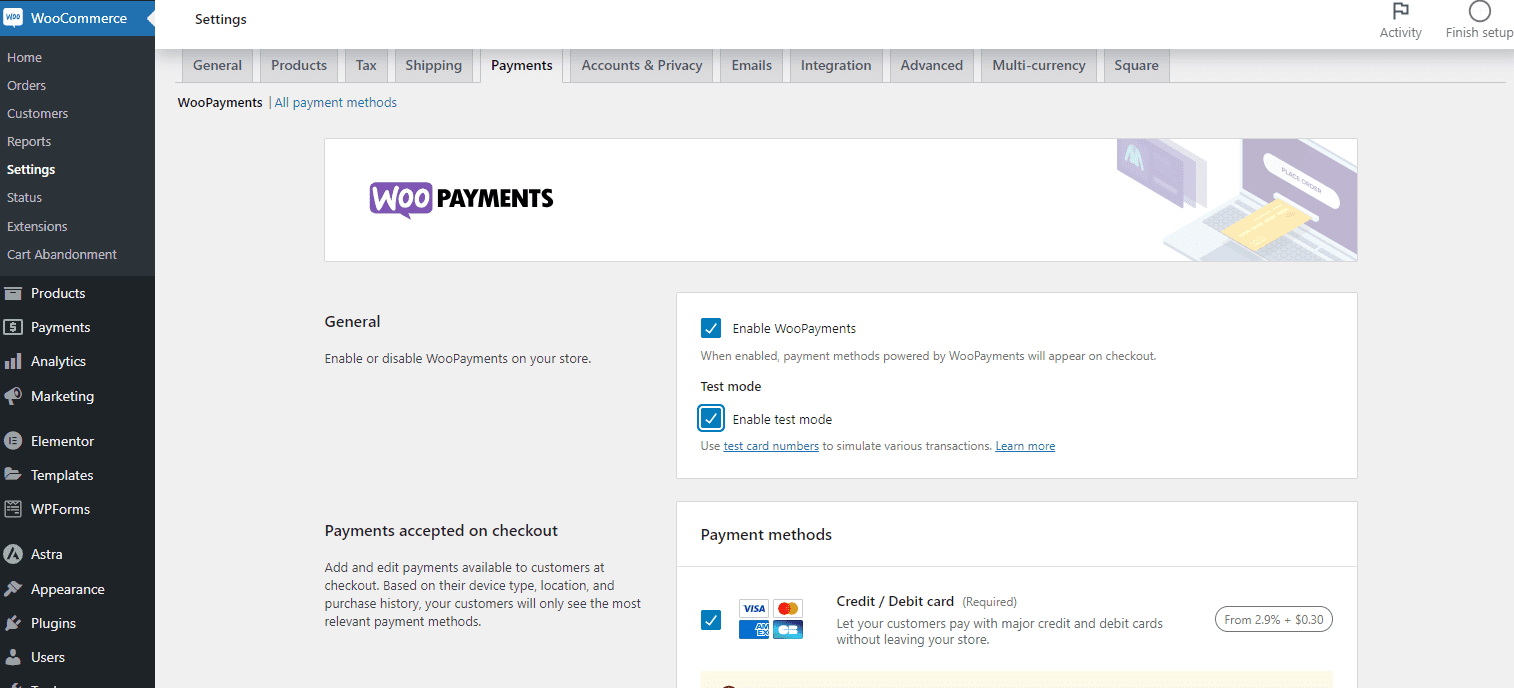
WooCommerce Settings > Payments
Make sure WooPayments is enabled. Most likely, you won’t need the other forms of payment.
You should see prompts to set up WooPayments, and you will be taken through a setup wizard to provide information about your business including your bank account.
When you finish the process, you should have also have a WooCommerce account and be able to email them for support at support@woocommerce.com.
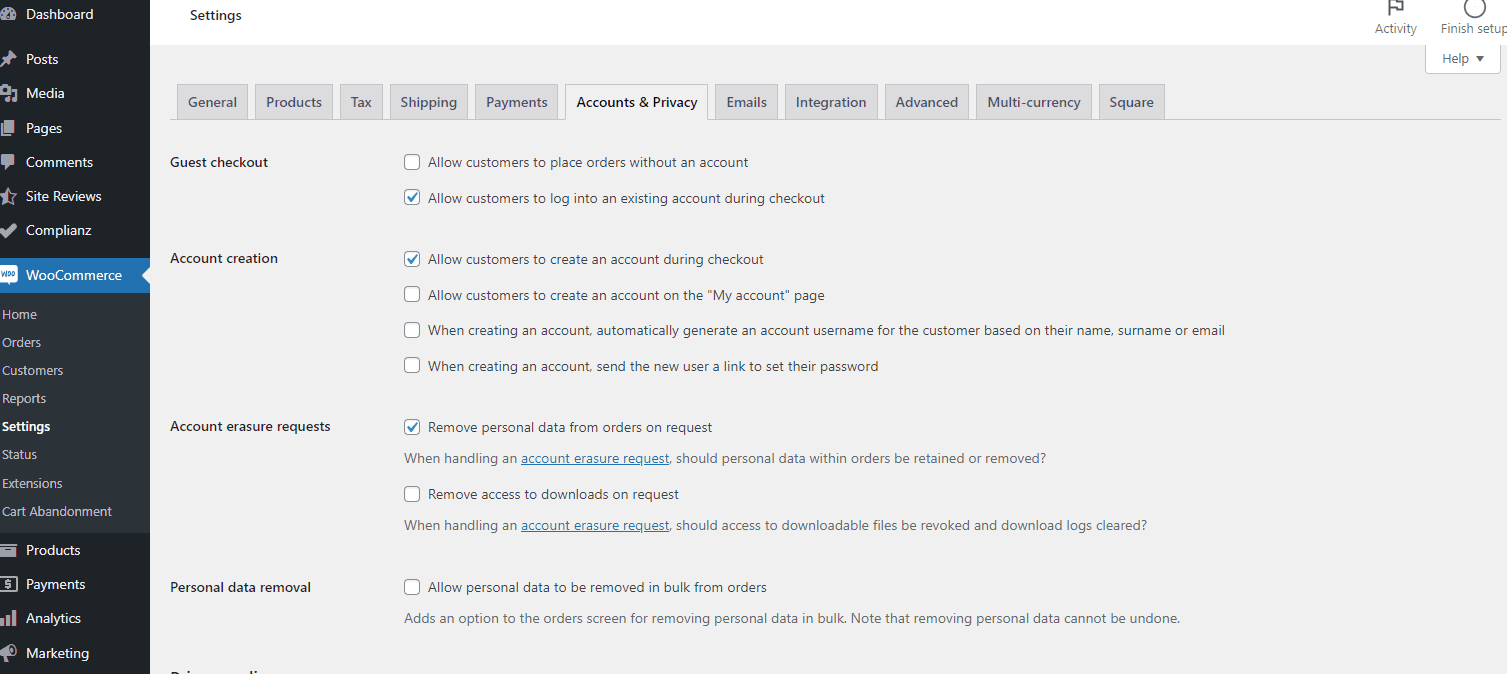
WooCommerce Settings > Accounts & Privacy
You may want to allow customers to purchase without making an account because that can increase sales if there are less steps to purchase.
However, when starting off, it’s probably best to make sure all customers create an account, especially if you offer virtual and downloadable products and/or you expect repeat business from the same customer.
So for Guest Checkout, only check “Allow customers to log into an existing account during checkout.”
For Account Creation, check “Allow customers to create an account during checkout.” You can also check “Allow customers to create an account on the ‘My account’ page,” but most likely people won’t create accounts that way.
For Account Erasure, check “Remove personal data from orders on request.” If you click on the hyperlink below, you can actually search the customer by username or email, and delete the personal data and send an email to that customer confirming deletion. Don’t worry: it won’t remove the crucial order information that you need for bookkeeping purposes.
For the rest of the options, it all depends on what your privacy policies and terms and conditions will be. Make sure to update those policies to reflect whatever choices you make here.
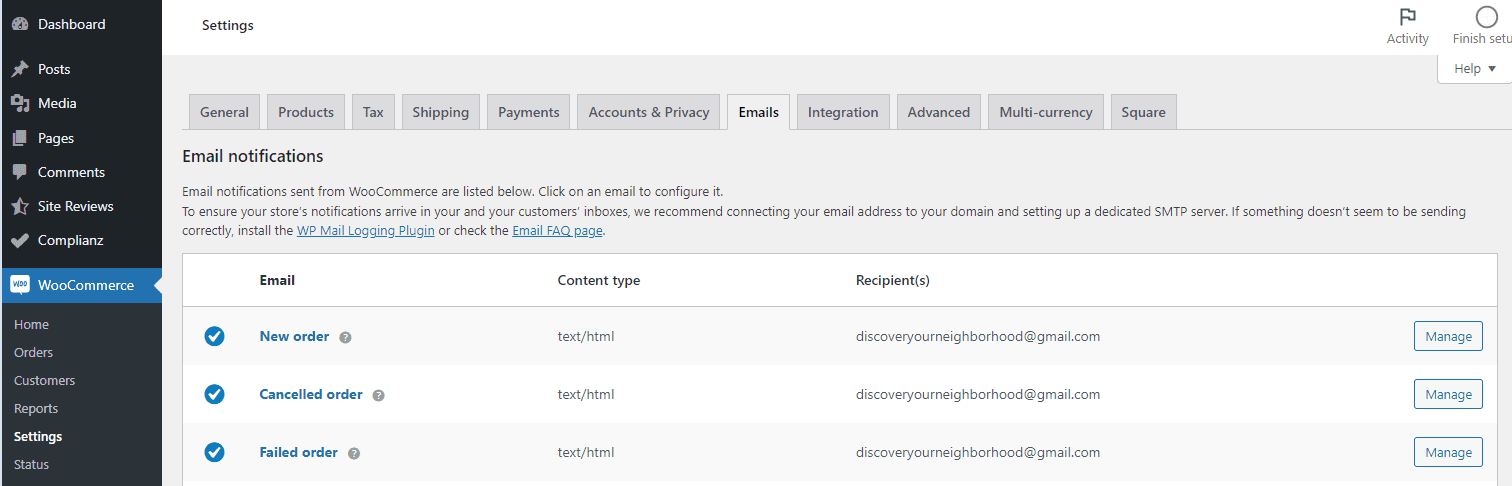
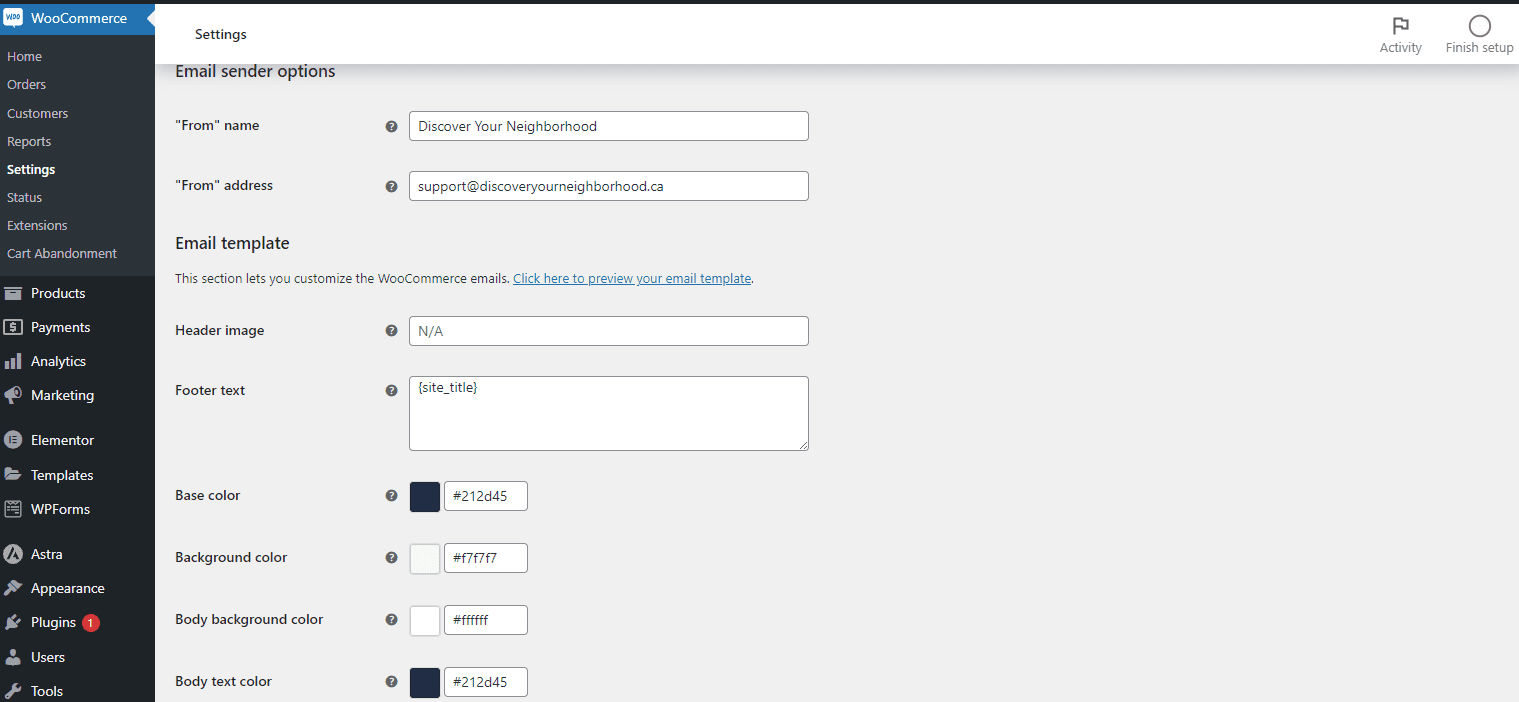
WooCommerce Settings > Emails
The emails that will be sent to you to are already set up, so all you have to do here is:
- Decide which email you want your notification sent to you, like about a new order placed in your store
- The “From” Name and “From” Address you want customers to see when they get emails from you store
- And the brand colors for the email template.
To see what your emails will look like, click the hyperlink that says “Click here to preview your email template.”
As always, make sure to save changes.
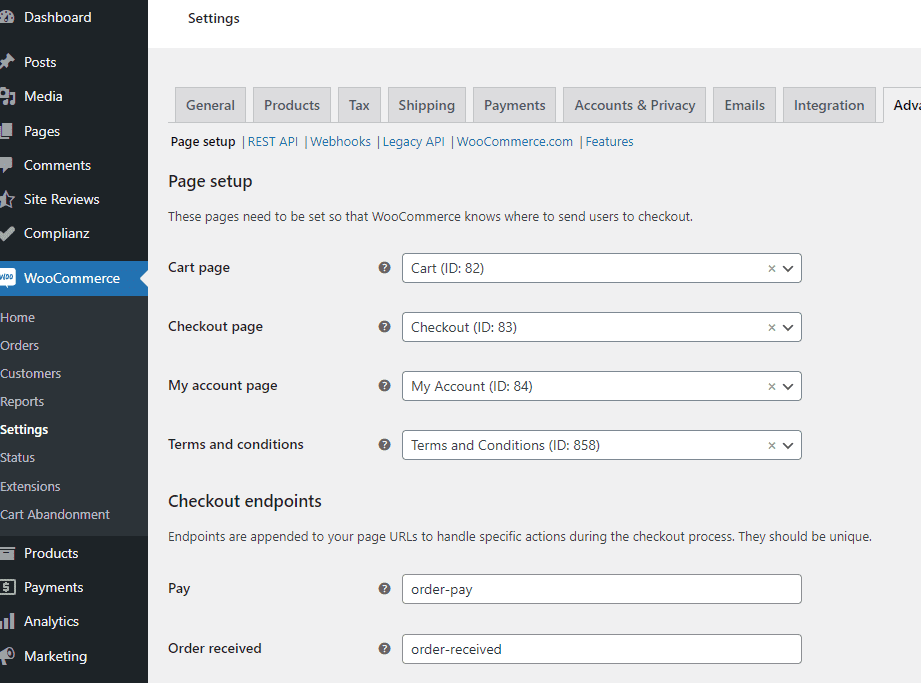
WooCommerce Settings > Advanced
Just make sure that for each of the WooCommerce page, you see the correct one selected.
If you don’t have a Terms & Conditions page created yet, you’ll have to make one under Pages, and then come back here to select the one you created. As I suggested in the lesson, Policy Pages, use Termly to create your terms page.
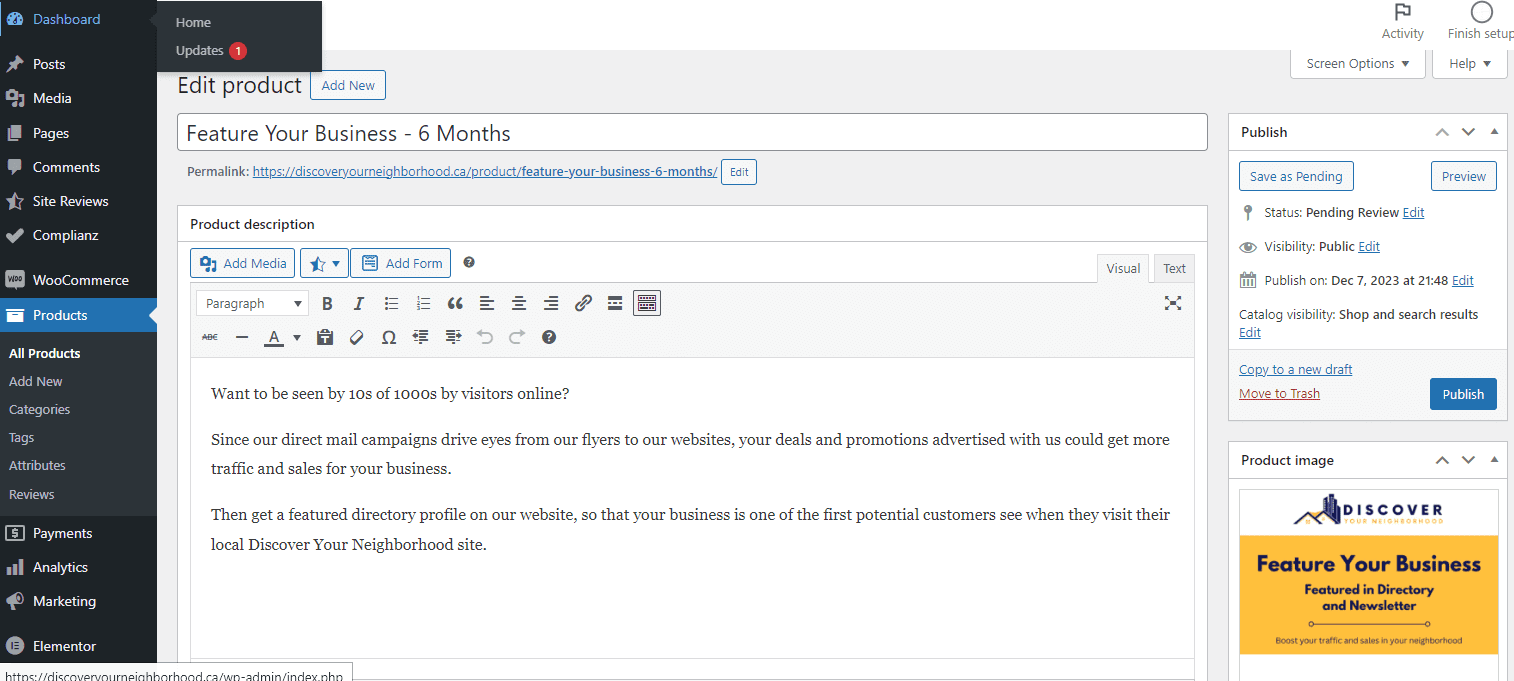
Products
Go to Products > Add New Product.
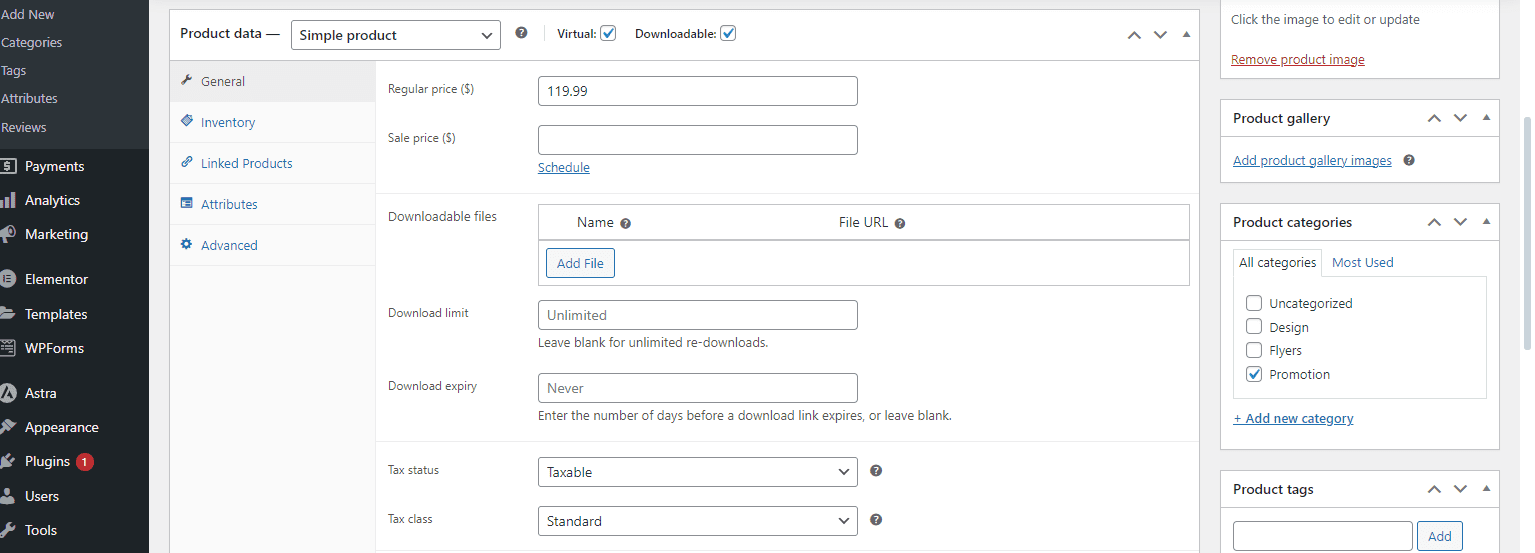
IMPORTANT: It’s very important to check the boxes “Virtual” and “Downloadable” if you are not using your online store to do any shipping. If you don’t check these boxes, WooCommerce assumes the order is not complete because it hasn’t been shipped. By saying your products are virtual and downloadable even if they’re not, your customers’ order will be marked as complete.
Add the longer description in the large text field below and the short description in the smaller text field on the bottom.
On the side, add the featured images, and add extra images in the product gallery. Also, add product categories and tags, which you can create by going to Products > Categories/Tags.
Choose a product type. Most likely, you’ll just need to create Simple Products, but later you might want to sell groups of products together (Grouped Product) or offer variations of the same product (Variable Product).
Under General, add the regular price, and sale price if the product has one.
Choose “taxable” for Tax Status to apply the tax rates you uploaded. Choose “Standard” for the tax class unless you have another set of rates you’re using.
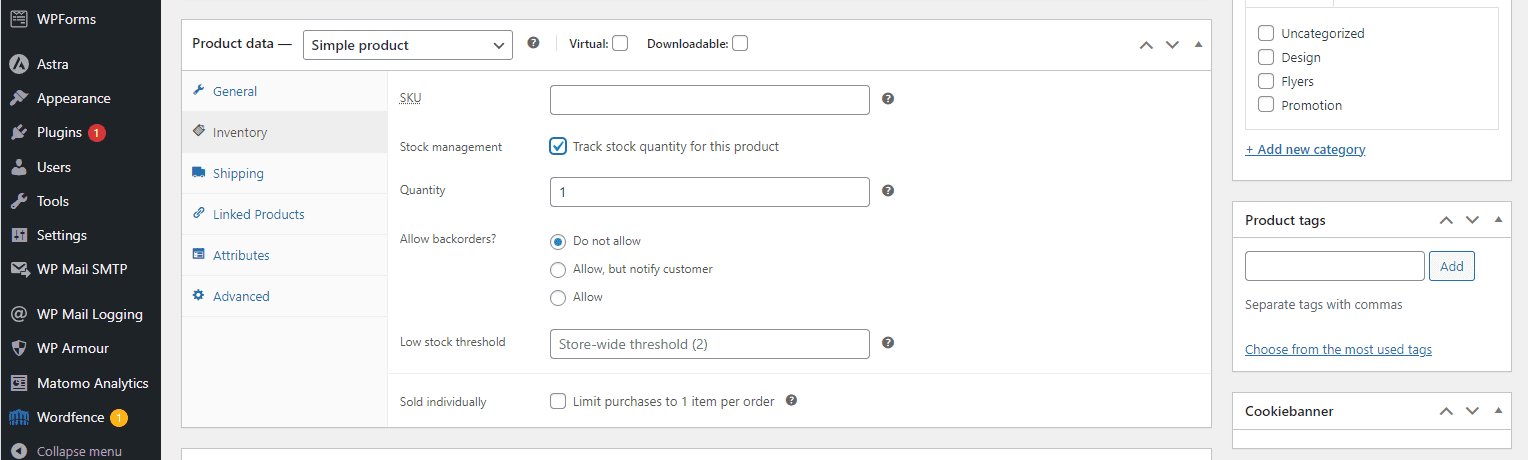
Under Inventory, add information about stock. If you check “Track stock quantity for this product,” you can enter the amount you have and it will automatically decrease with each customer purchase and you’ll get a notification when the stock is very low.
Under Linked Products, you can connected products to each other so that customers see related products, like more expensive ones (Upsells) and ones with a similar price or related function (Cross-sells) to encourage more purchases.
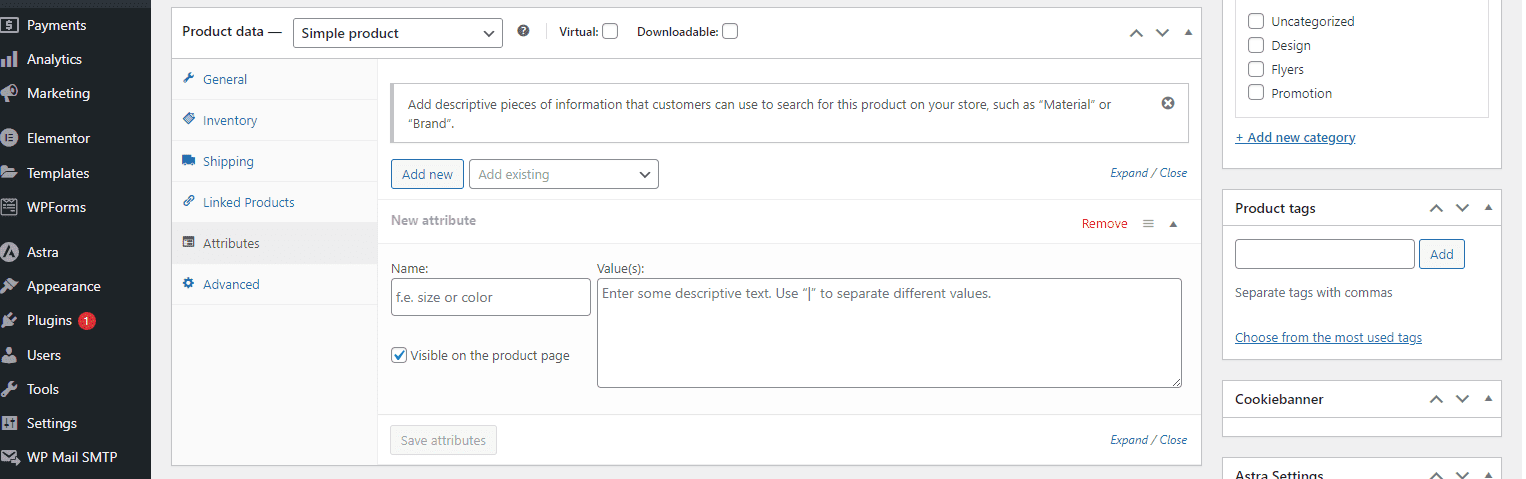
Under Attributes, you can create variations of products by their size, color, etc. Find more information about how to do this in the section Where to Learn More below.
Under Advanced, you can send the customer a note with important information they need after their purchase is complete.
Cart Abandonment
This plugin is not necessary, but it can help you get sales from those who leave your website with products left in their shopping cart.
Go to WooCommerce > Cart Abandonment > Reports, and you’ll see the dashboard where the Recoverable Orders, carts full of products that visitors didn’t buy yet, and Recovered Orders, purchases from customers who came back and bought the items in their carts.
Go to Settings, and make sure Enable Tracking or “Start capturing abandoned carts” is checked.
You can change the amount of time after a visitor leaves products in their cart when their cart is marked as abandoned.
For Disable Tracking For, you can choose whose carts are tracked. For now, don’t check the Administrator box because you should add products to your cart and abandon it to see if you get the emails to make sure the plugin is working properly. Once you’re sure, you can disable tracking for Administrators.
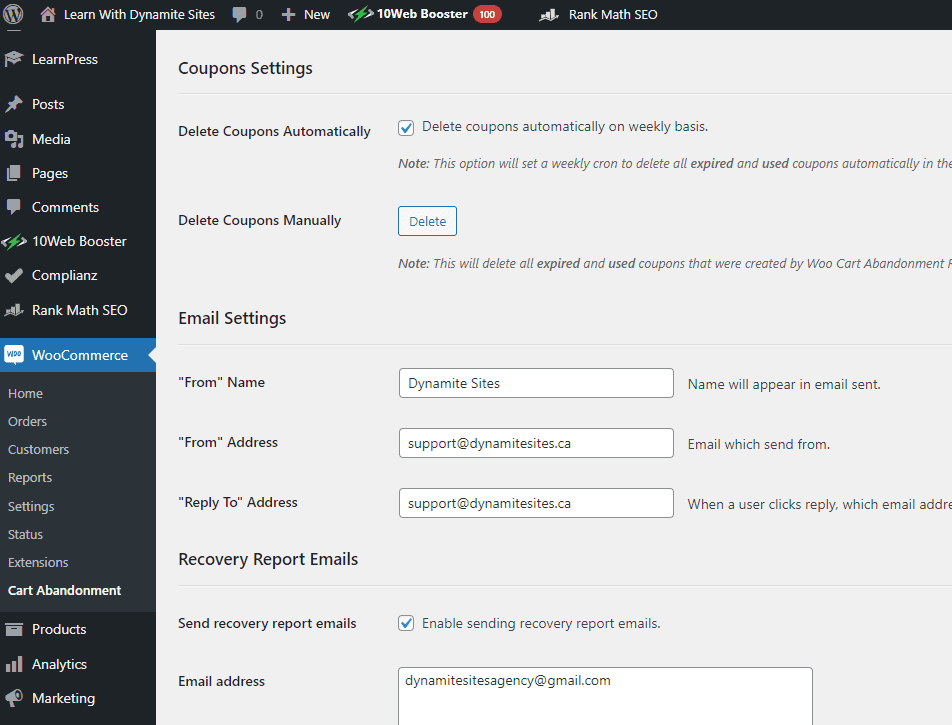
Under Coupon Settings, make sure with Delete Coupons Automatically, the box is checked. And you can change the email address and “From” Name visitors will receive.

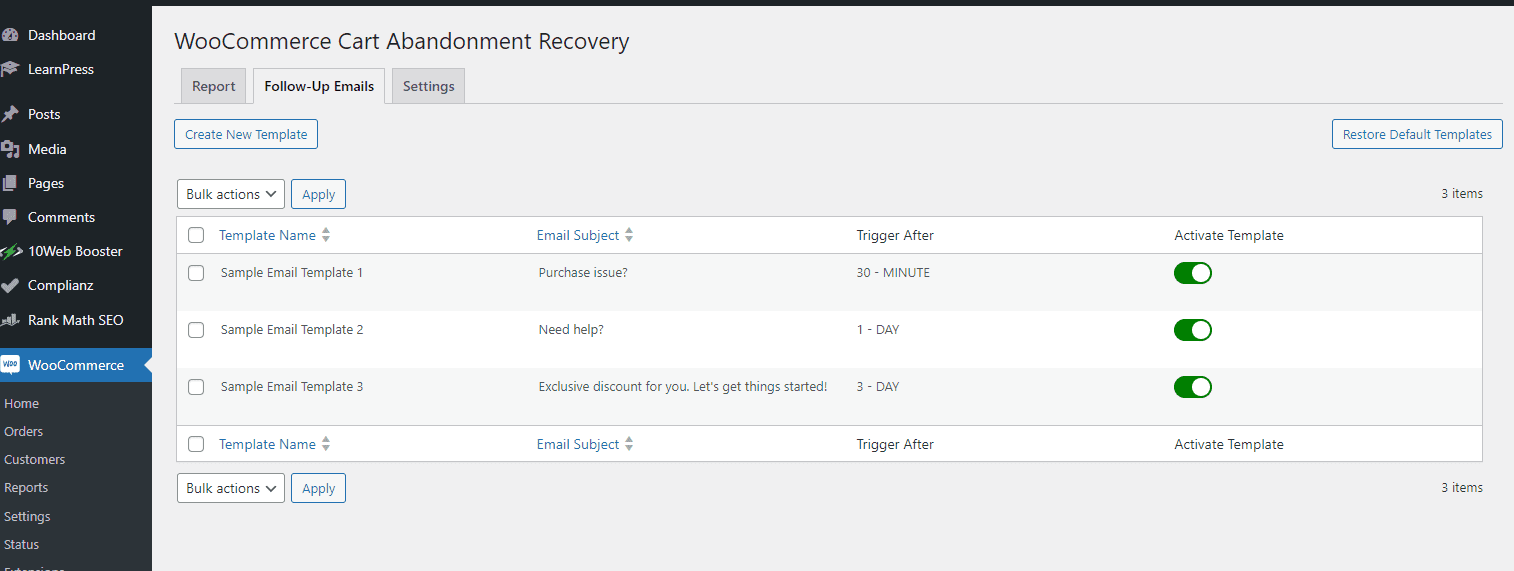
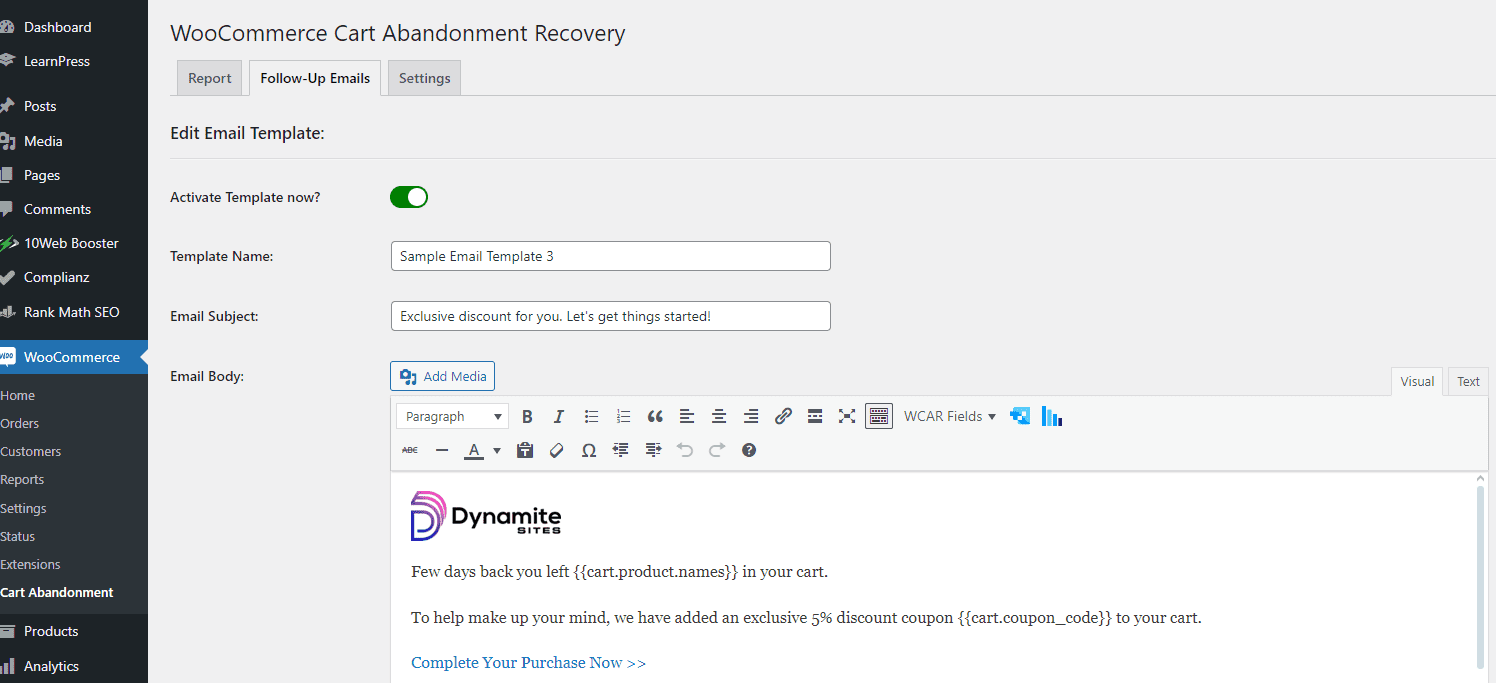
Under the tab Follow-Up Emails above, make sure to toggle on all the emails. Click on “Edit” under the Template names to edit the messages inside. Make sure to add your logo to the emails.
I recommend leaving most of the settings as they are, including for Email #3 that they’ll receive 3 days later offering a 10% discount on the products in their account. This email will include a link that takes the potential buyer back to your store with the coupon code already applied.
Feel free to change the discount or the expiry time for the coupon if you like.
Coupons
Under Marketing > Coupons, you can create coupon codes for any product or category and you can even allow free shipping.
To understand the settings, just hover over the question mark icon to read about each one.
Data
Under WooCommerce, you can find information about your customers, their orders, and reports that you can create and share.
Under Analytics, you’ll find even more detailed information about your store, like all the coupons used, taxes paid, stock for each product, and more.
Under Payments, you can see all the transactions and a list of deposits into your bank account.
Refunds
Under WooCommerce > Orders, you can actually refund customers by clicking on the Refund button in the bottom lefthand corner of the order section.

Designing Your Store
Go to Appearance > Customize > WooCommerce.
Under General, you can change the layout, like whether or not the WooCommerce pages are boxed or full width.
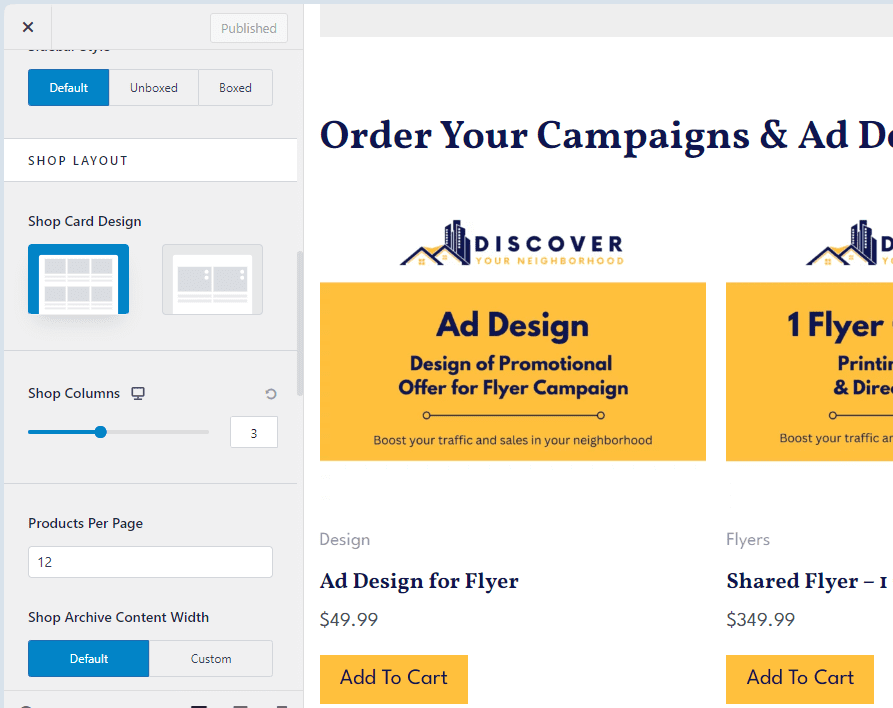
Under Product Catalog, you can style the Shop page, including choosing how many products to display and in which order and whether to show their categories and so on.
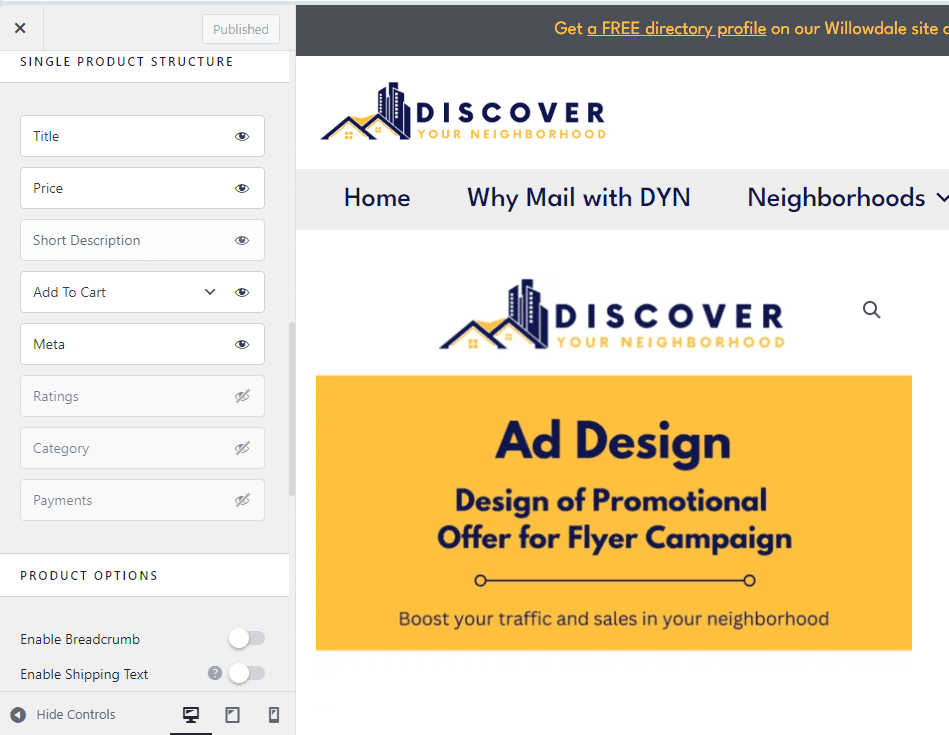
Under Single Product, you can decide what data for each product to display and more. You can also enable the “Sticky Add to Cart,” which puts the add to cart section at the top or bottom of the screen on all the product pages.
Under Cart, you can “Enable Cross-sells” which means show the related, linked products on the Cart page to get customers to buy more.
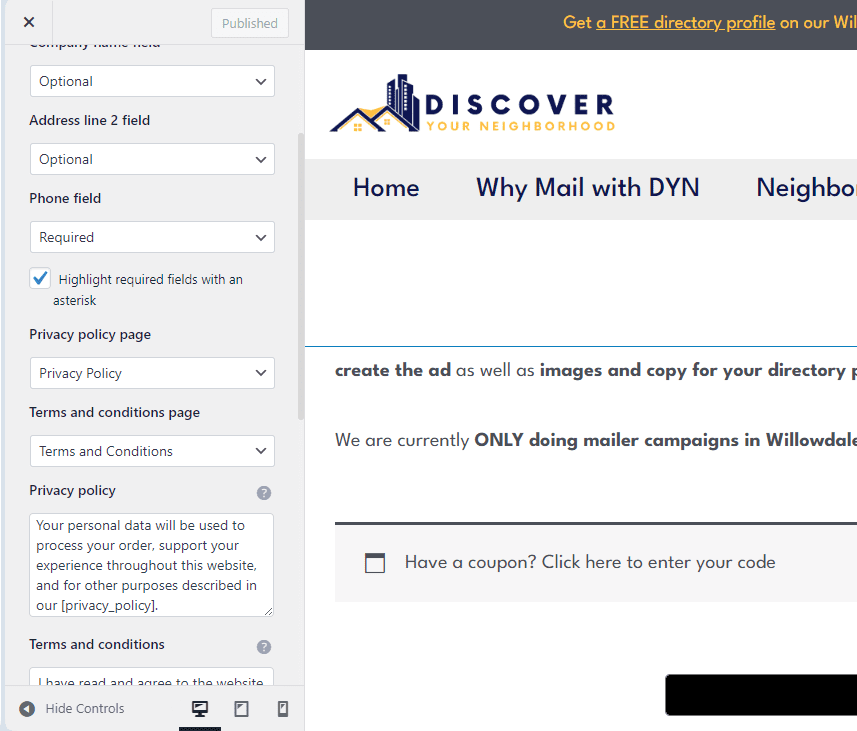
Under Checkout, you decide which form fields are optional or necessary, like phone numbers, and you can edit the agreement statement to your store’s terms and conditions.
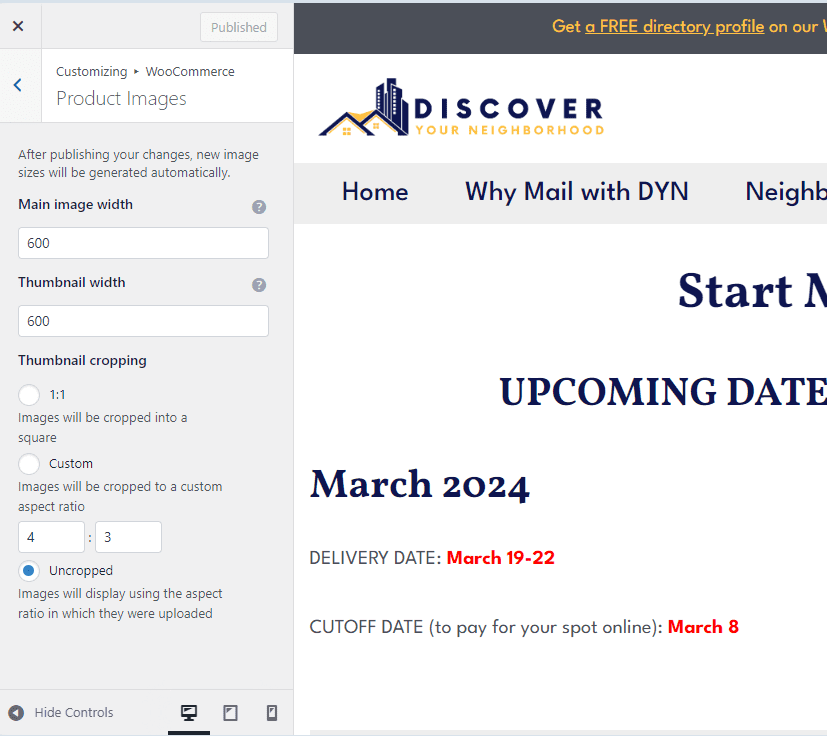
Under Product Images, you can adjust the size of your product images if they’re not looking right, and under Store Notice, you can put a banner at the top of your website with important announcements about your store.
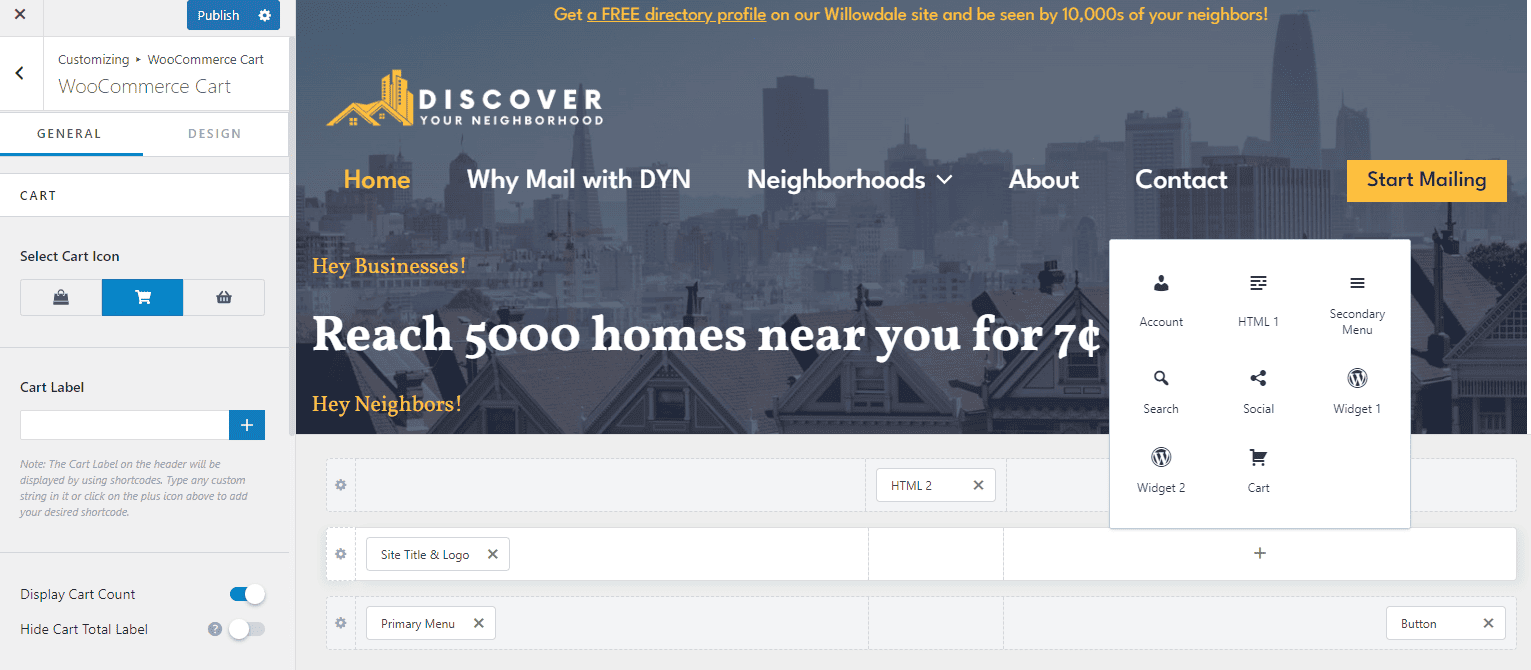
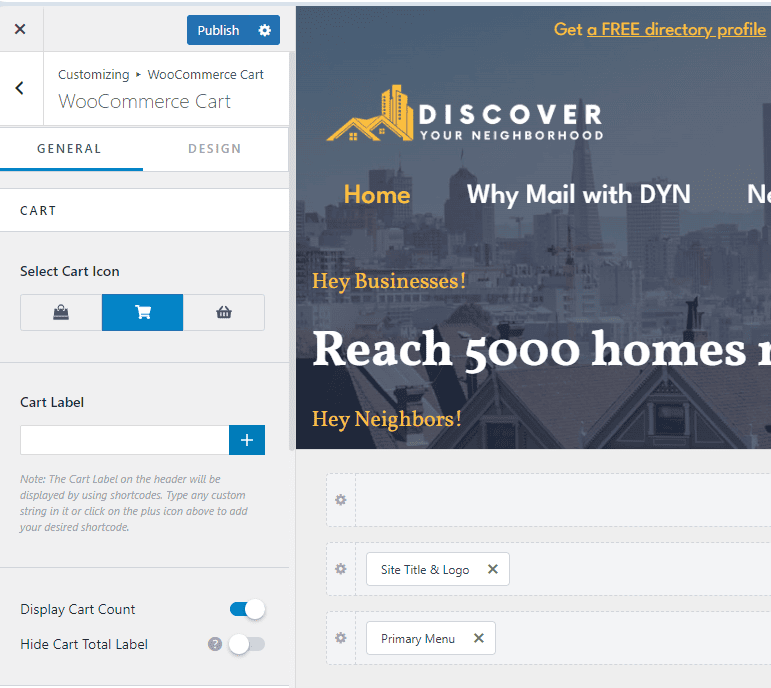
Adding cart and account icons to header
Go to Customize > Header Builder, and in any of the three headers, you can click on the “+” sign to add an element, and you should see the cart and account icons.
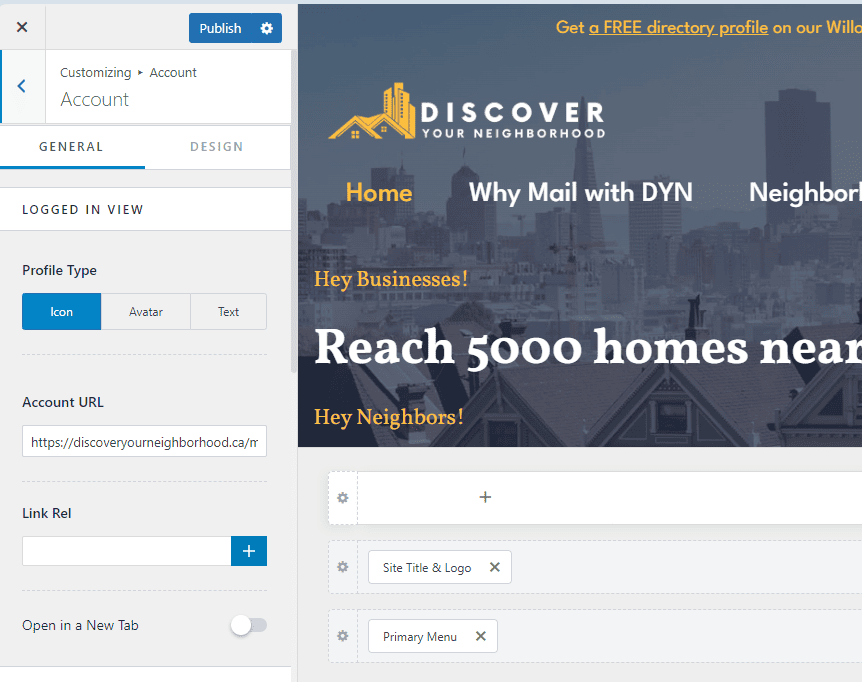
For the account, you do need to add the exact URL of the WooCommerce account page, which you can find under pages.
For both cart and account, you can customize the icons to suit your brand or other needs.
Testing Your Store
Under WooCommerce > Settings > Payments and then WooPayments > Manage, check the second option “Enable test mode.”
Then creating a fake customer but using a real, different email address of yours (not the same email associated with your WordPress site), make a payment using one of WooCommerce’s fake, test credit card numbers.
The expiry date and CVC can be anything; just make sure the expiry date is in the future.
Check to see you received the email as a customer and a notification as the store owner.
It’s good to perform a second test with real money. Just change one of the product prices to $1 or another low amount.
Where to Learn More
WooCommerce Documentation
Search to find the right help article.
When you enable shipping, you’ll have to set up zones and classes.
For shipping with different carriers in the U.S. and Canada Post in Canada, the Octolize plugins or Plugin Hive options are worth checking out.
For shipping in Canada, you can integrate your Canada Post account with WooCommerce shipping, and here’s an article about the plugins and support Canada Post itself offers.
WP Beginners
Their articles are often easier to understand and follow.