OR Day 18: Understanding Page Builders Block Editor Part 1: Main Settings
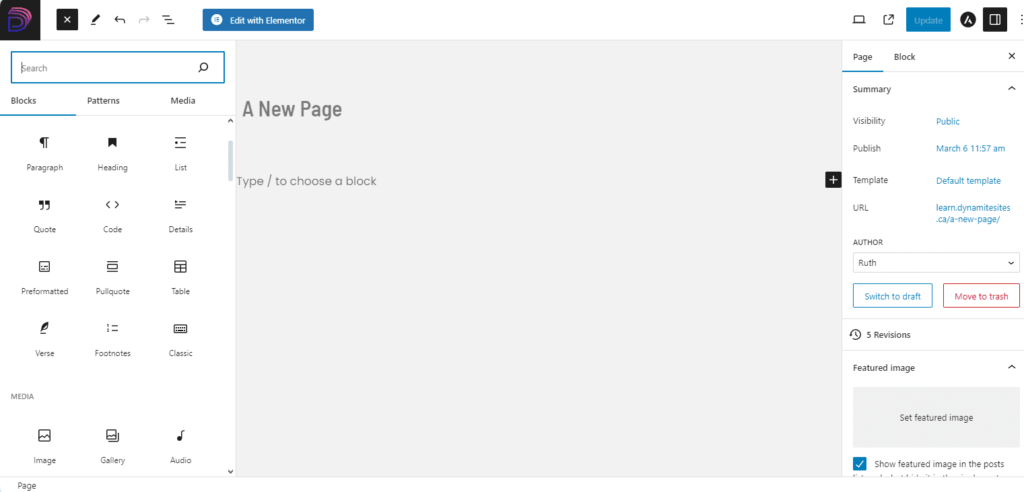
Go to Pages > Add New Page like before, and you’ll find yourself in the block editor.
Adding Content or Blocks
To add new content, click on the “+” sign near the top and drag and drop blocks, or click on the “+” on the page that appears when you hover or click on the page.
As you can see when you scroll down the sidebar, the block editor comes with lots of options for embedding social media content, but it doesn’t have as many options for adding text and media as other page builders do.
Block Settings
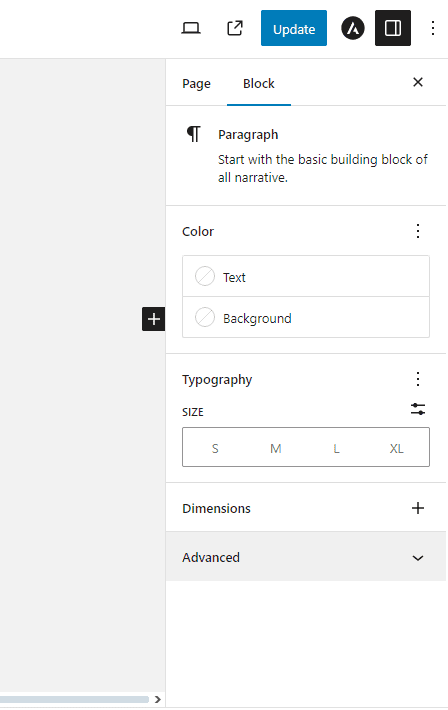
In the righthand sidebar, there are some options for customizing your block. For instance, if I choose a paragraph block, I can change the colors of the text and background or the font size.
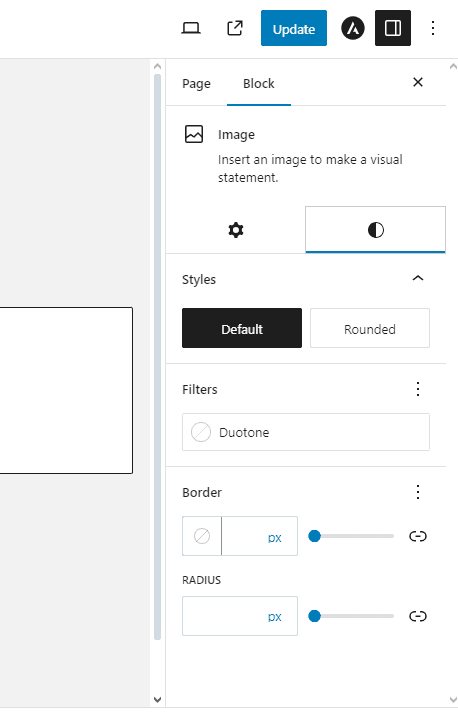
Or if I choose an image block, I can change the size under Settings or the color, border, filter and more under Styles.
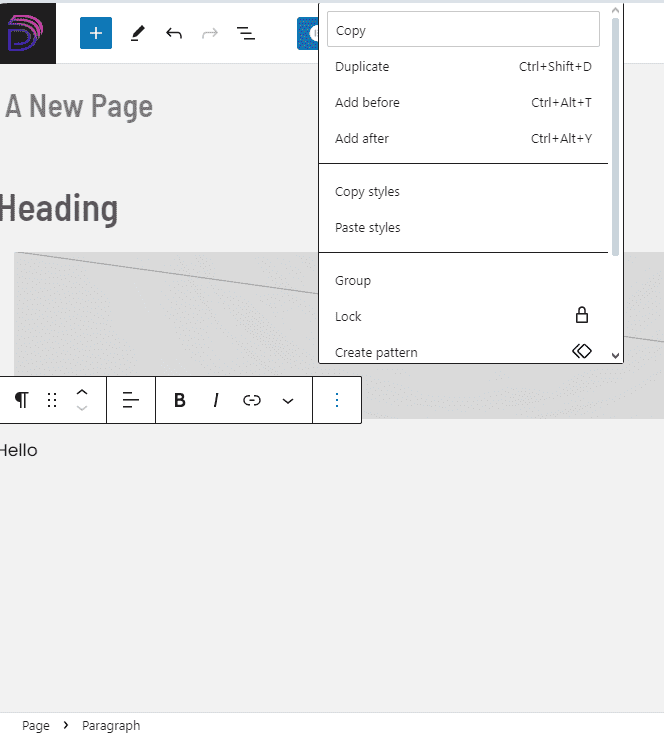
When you’re working inside the block, more options appear when you hover, including the 6 dots that you use to drag blocks to rearrange them and the three dots at the end to copy, duplicate, copy and paste just the styling and not the content, and delete.
For example, for a paragraph, you can change the alignment; make the text bold or italic; add a link; and by clicking on the downward arrow, change the the text or background color, and more.
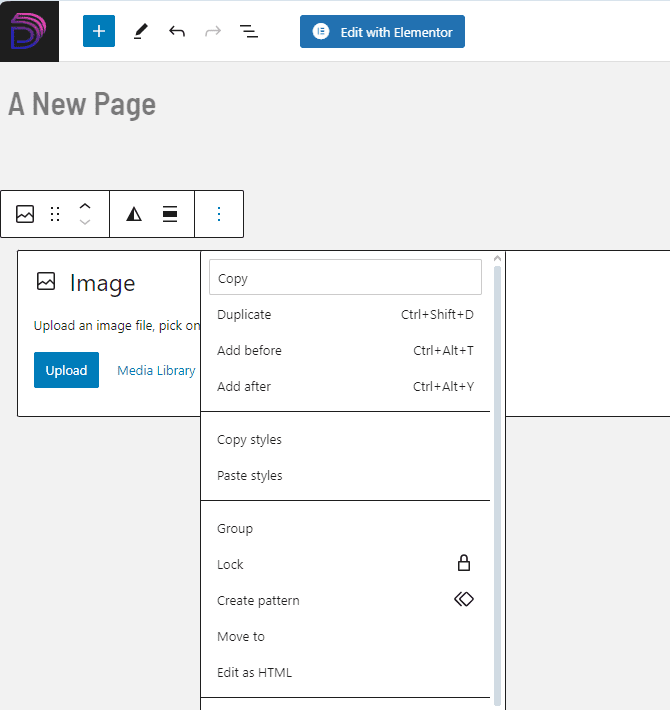
For an image, you can add a filter, change the alignment, put text on top of the image, replace it, or crop it.
However, unless you know how to code with HTML and CSS or you add another free plugin like Spectra to give you more styling options, it can be difficult to create interesting layouts and adjust spacing, like the direction of content in the containers.
Patterns
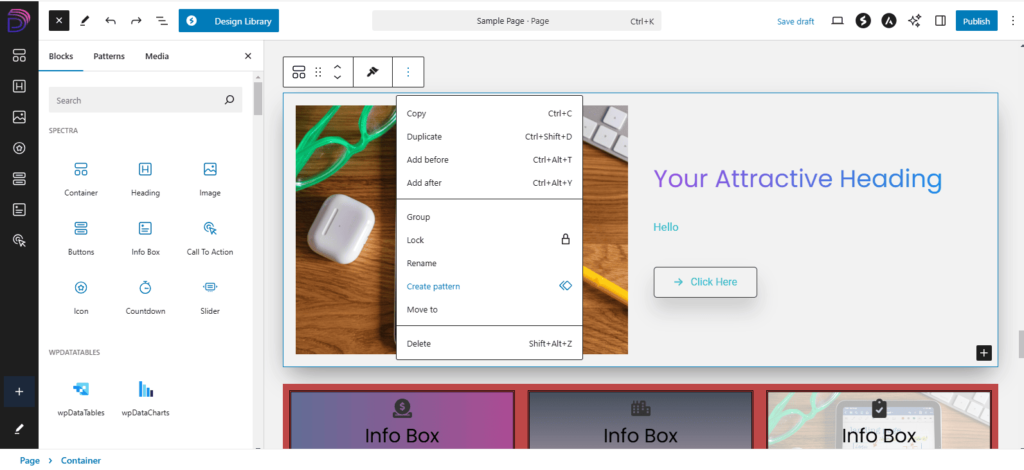
If you’ve styled a block or created a section of blocks that you want to use again on the same page or different ones, you can save them as a Pattern.
Just click on the three dots on the menu hovering above your block or section, and hit Create Pattern. You can find all your patterns and others created by WordPress under the “+” sign in the top lefthand corner and then “Patterns.”
Block Editor Tools
Undo and Redo Arrows
These are next to the pencil icon, and they’re super helpful for reversing changes.
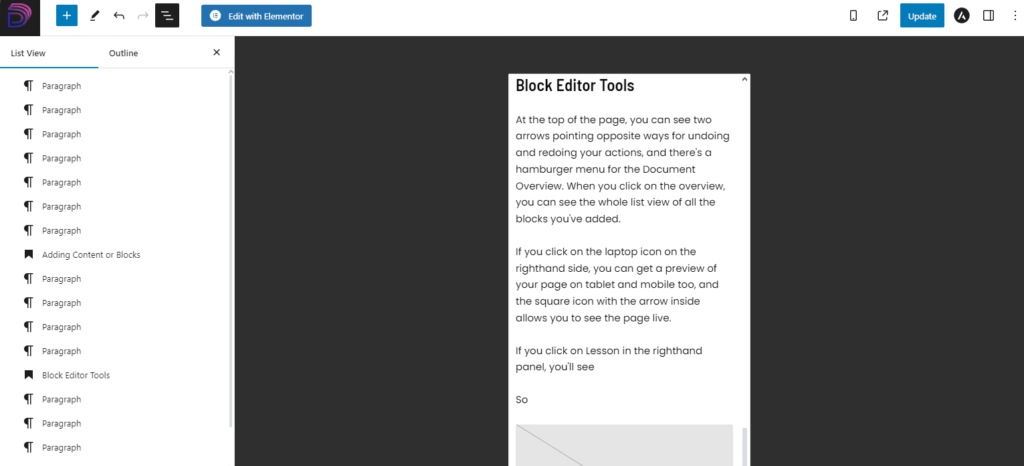
Document Overview
At the top of the page, you can see two arrows pointing opposite ways for undoing and redoing your actions, and there’s a hamburger menu for the Document Overview. When you click on the overview, you can see the whole list view of all the blocks you’ve added and even re-order them.
Responsive Mode
If you click on the laptop icon on the righthand side, you can get a preview of your page on tablet and mobile too, and the square icon with the arrow inside allows you to see the page live.
But make sure you always check on real devices because the preview mode is not always reliable.
Go to the Frontend
The icon next to the device icon for responsive mode allows you to view the page on the frontend.
Astra Settings for Individual Pages
As discussed in earlier lessons, if you click on Astra’s “A” icon, you can disable or enable headers, footers, sidebars, certain layouts and more for the specific page you’re working on.
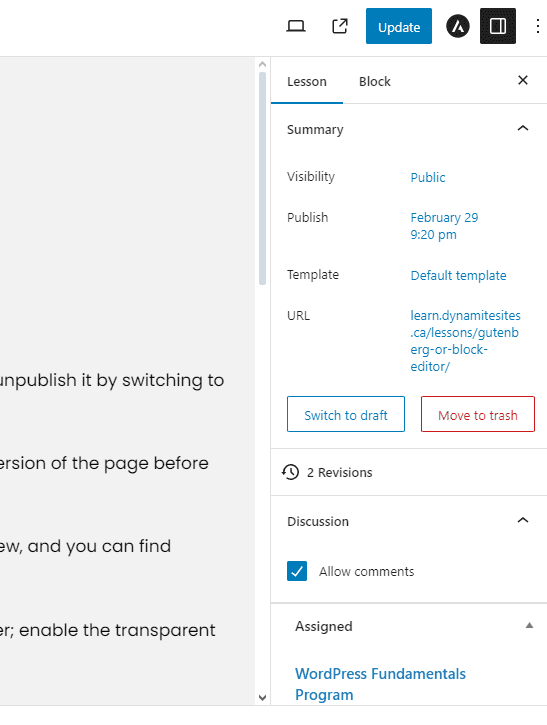
Page Settings
In the righthand panel under Page, you’ll see options to change the visibility, date and URL of the page as well as unpublish it by switching to draft or trashing it.
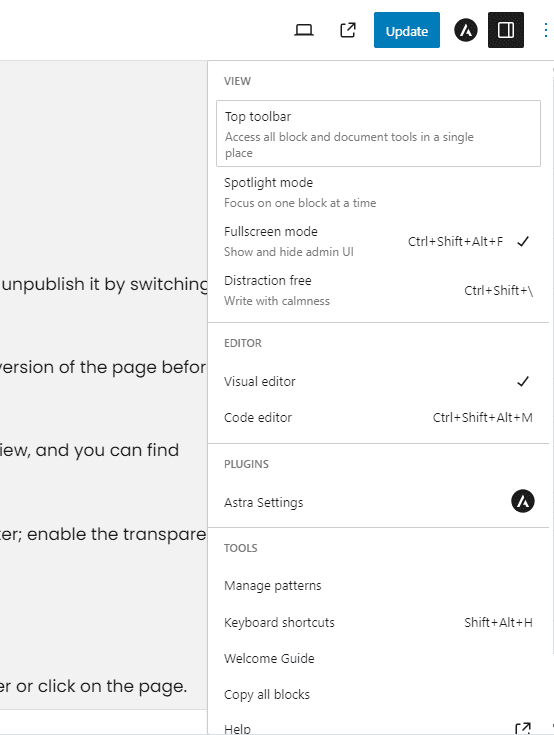
If you click on the vertical three dots, you can change the user experience of the editor to help you focus under View, and you can find documentation and support under Tools by clicking on Welcome Guide and Help.
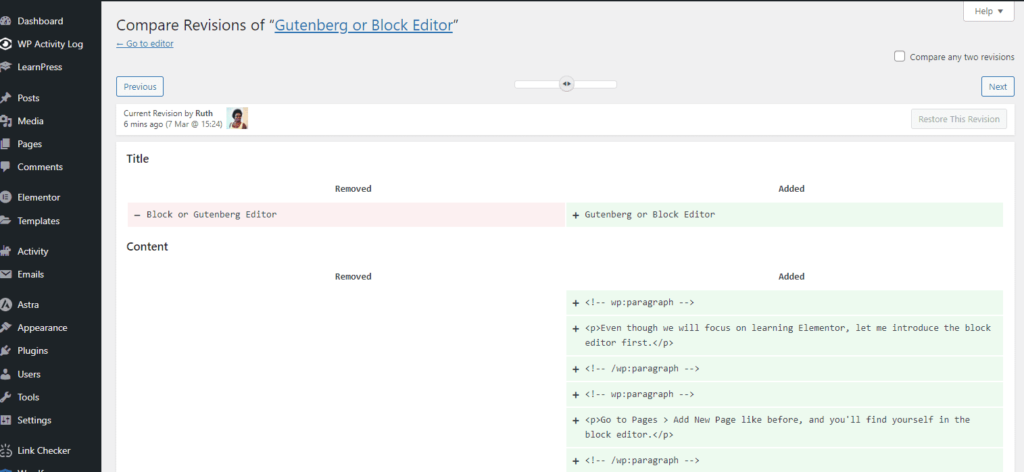
Once you publish the page and then make changes and save it again, you’ll see it says a number next to the word “Revisions.” If you want to go back to an earlier version of the page before you made certain changes, you restore a previous version.
There’s also an option to Copy All Blocks, which means copy all the contents of the page and then use Ctrl + P to paste them into another section or page.