Day 30: Contact Form
IMPORTANT: Your Astra template has very likely already installed this plugin and the contact form on your Contact page. But in case you don’t have a contact form with your chosen Starter Template already or you want to understand the whole process, we will use the WP Forms plugin to add a contact form to the Contact page.
Creating Contact Form
Search for WP Forms in the plugin library, and hit Install and then Activate.
Once it’s activated, you can watch the video, but we’re just going to use one of the default forms instead of creating a form from scratch.
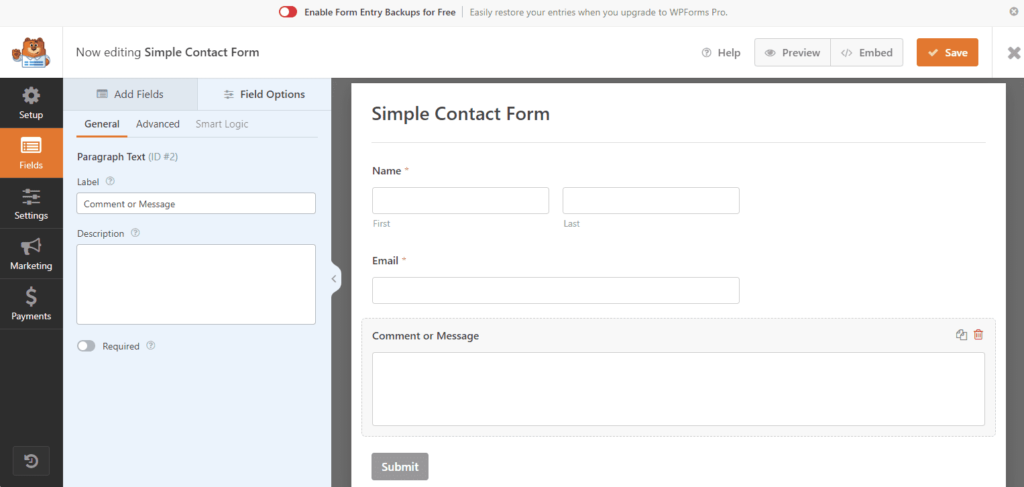
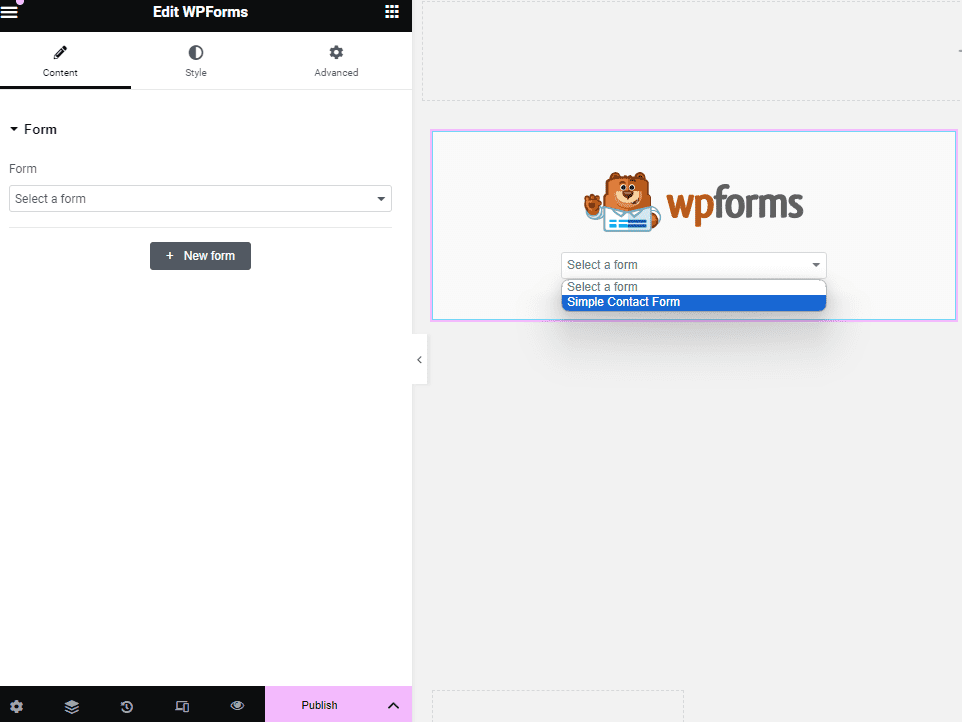
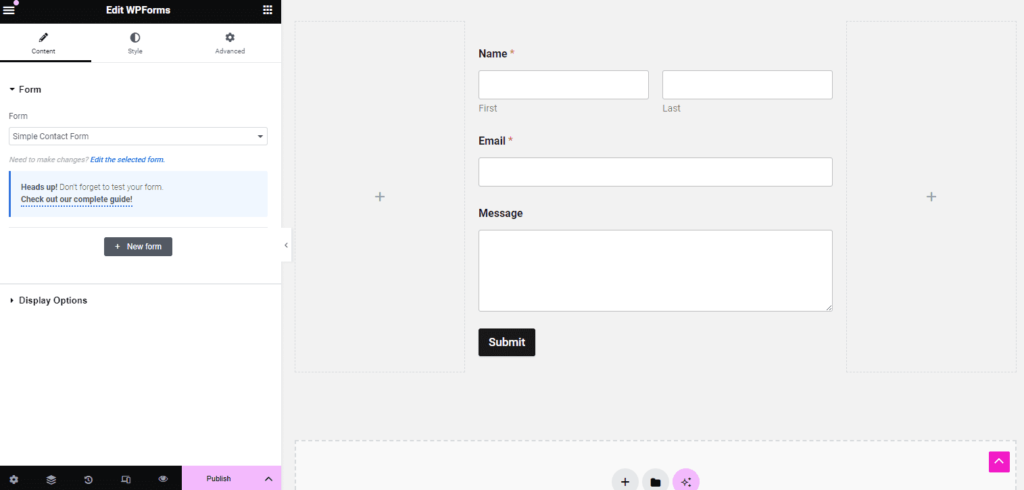
Go to Dashboard > WP Forms > Add New, and the second option below is Simple Contact Form. Hover over it and click Use Template.


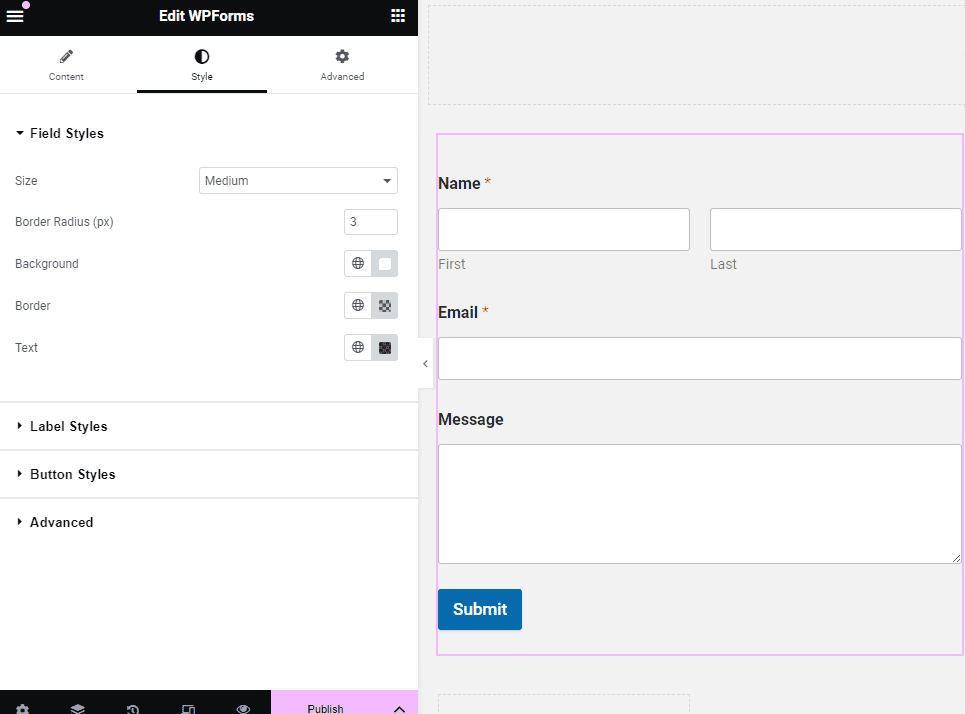
You’ll see the simple 4-field form, and you can edit each field by clicking on it and changing the label and settings on the lefthand panel.
If you go to Advanced > Field Size, you can change the size of the boxes. Actually, it’s best to choose large so that all the fields are the same length.
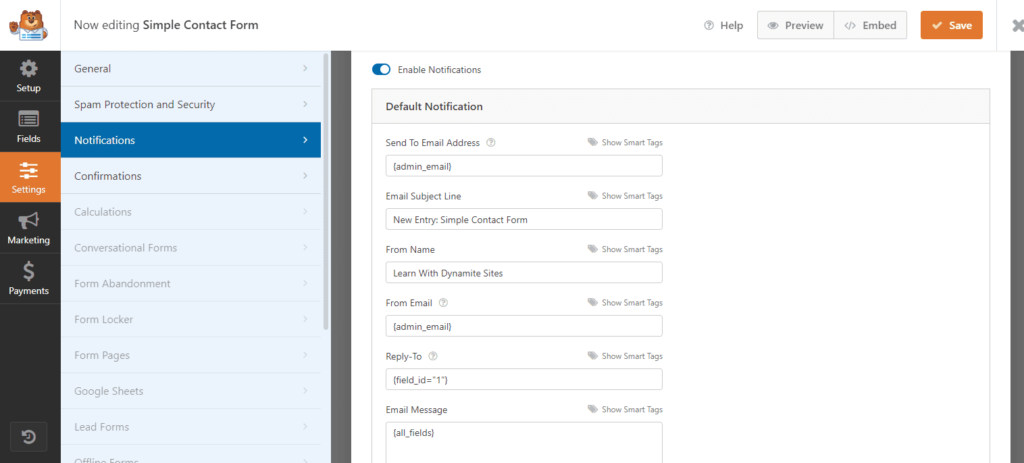
Go to Settings > Notifications, and you’ll see the default notification settings. You’ll get a notification about any messages you receive through the form to the admin email, as the first field “Send To Email Address” shows.
The admin email is the one you used to create your hosting account or WordPress site with. You can also add other email addresses, separated by commas.
Changing Your Admin Email
You can change your email in Users > Profile if you need to.
Scroll down to Contact Info > Email. Delete your current email and replace it with the new one you want form submissions to go to.

You should get a message in the account of your replacement email address asking to confirm the change. Once you click on the link to confirm, you’re ready to go.
Adding Form to Contact Page
Now, to add the contact form to the Contact page, go to Pages > Contact page > Edit with Elementor.
In the Elementor panel, search for the WP Forms widget, and select your form from the dropdown list.
Then, as you can see in the Elementor panel settings for WP Forms, you can change the style, colors and more.
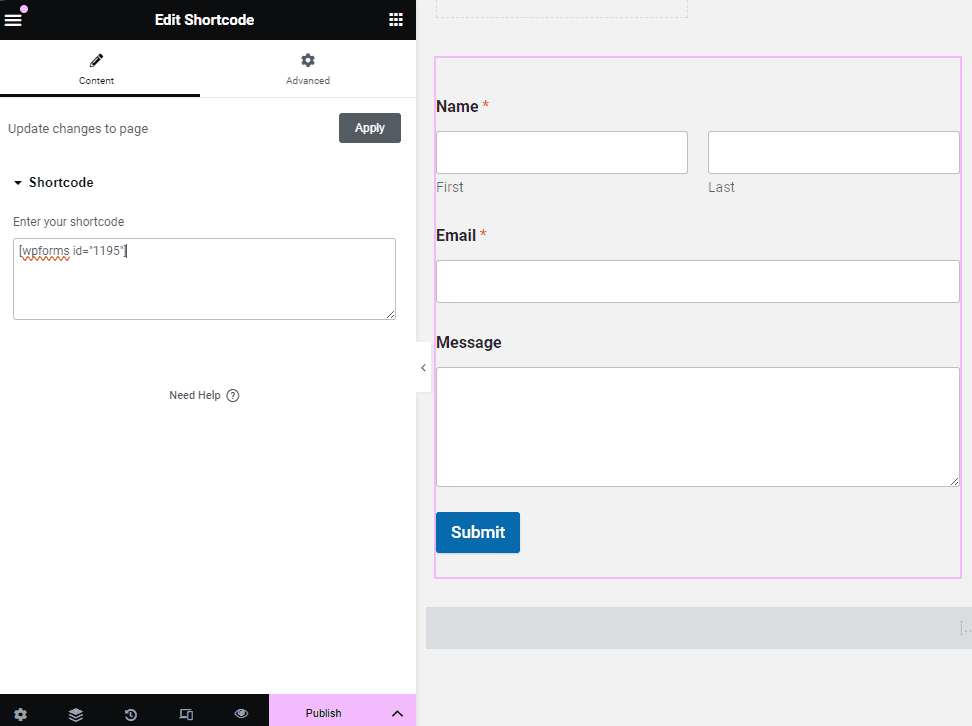
If for some reason the WP Forms widget is not available, choose the Paragraph or Shortcode widget.
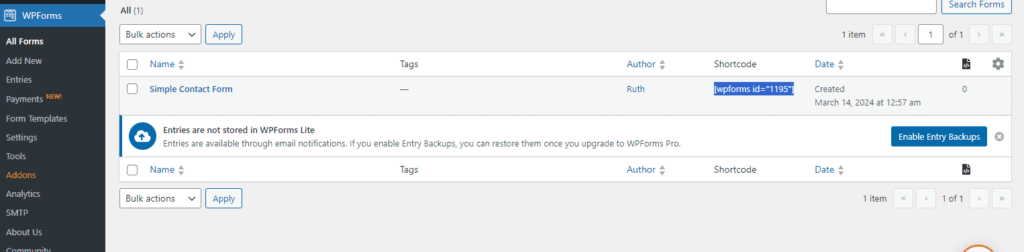
Go back to Dashboard > WP Forms > All Forms and copy the shortcode from the column in the table of forms.
Then paste that shortcode into the paragraph or shortcode widget.
If you want to make your form narrower because the field boxes are too long, just choose a container layout with two containers and add the form to the to the left or right. Or choose a container layout with three containers and add the form to the middle one.
Testing Your Contact Form
Wait until you’ve connected your website to your domain to send a test message through your contact form. Otherwise, the test message may not go through.
If you’re having trouble, please ask for help in the coaching calls.
Anti-Spam Plugin
Even if your template came with the contact form ready, you need to add an anti-spam tool to stop bots from making submissions into your forms.
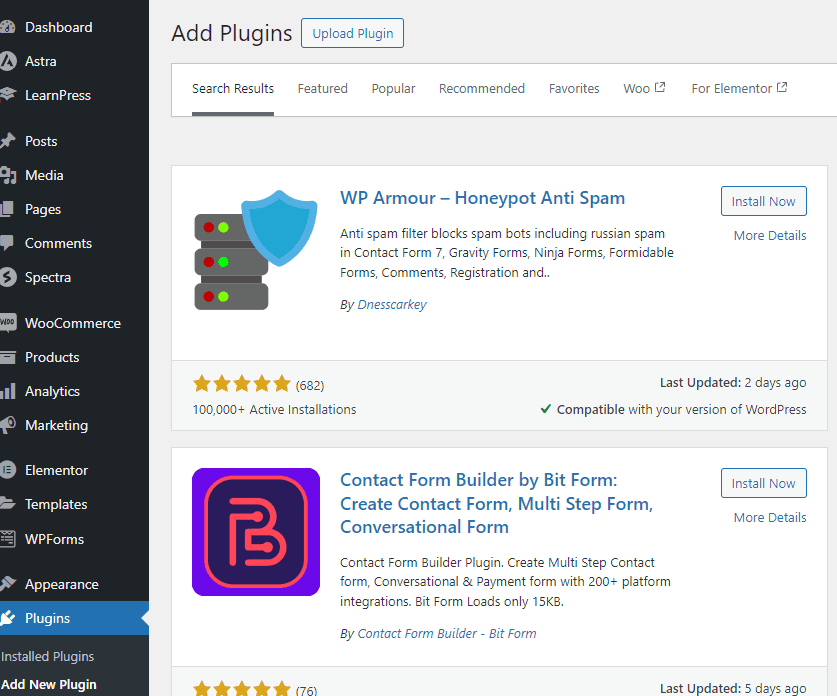
An easy plugin to use because it’s free and requires no setup is WP Armour – HoneyPot Anti Spam.
Search for it in the plugin library, and then install and activate it. Once you do, you’re done.
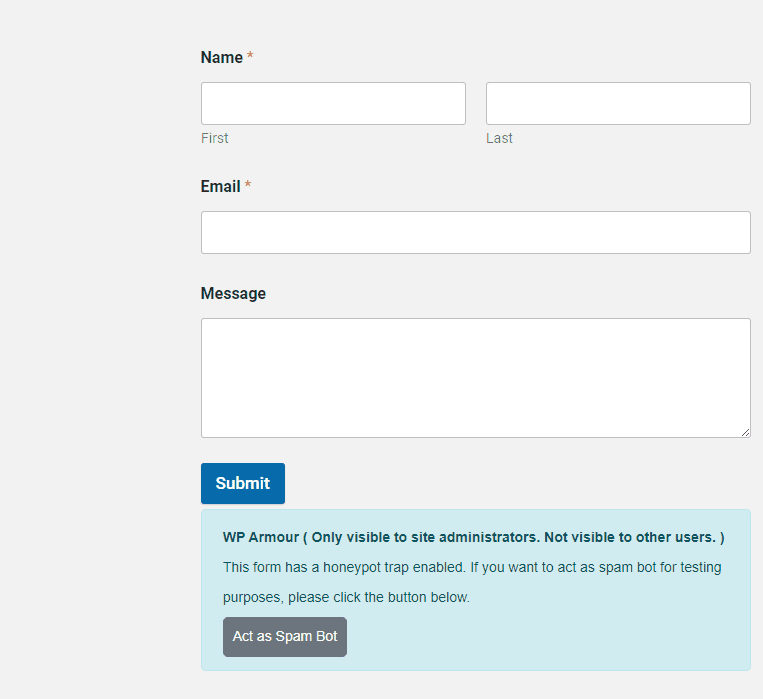
You can see that the plugin is activated and working by going to the Contact page the message on frontend, and you’ll see a message that it’s enabled under the form.
Don’t worry! The message is only for logged-in admin users and does not appear for visitors.