
Day 26: Image Optimization
One of the top reasons that websites are slow because they have unoptimized images or videos uploaded directly, and this can lead to a poor user experience for visitors.
Large, heavy images take up too much space on the server, take longer to load, and drop your site lower in search page results.
Optimizing your images means choosing the right format, resizing and/or cropping them to make sure they’re not too big, and compressing them to reduce the size of the image file.
Since not everyone has access to premium tools like Adobe Photoshop, I’ll show you how you can quickly optimize images for free.
Here’s what you need to do, and I’ll introduce you to one of my favorite free tools, iloveimg.com, where you can find all the basic image editing tools you need. Their tools are super user-friendly, and you can also edit multiple images at once.
You can also use Adobe’s free image editor tool to do many of the same tasks.
Format
Most of your images should be in the JPEG or PNG format, to start with. PNG format is for smaller, high-quality, and transparent images, like logos.
Once you finish editing and compressing, then you should change them to the WebP format, which I explain below.
Cropping & Resizing
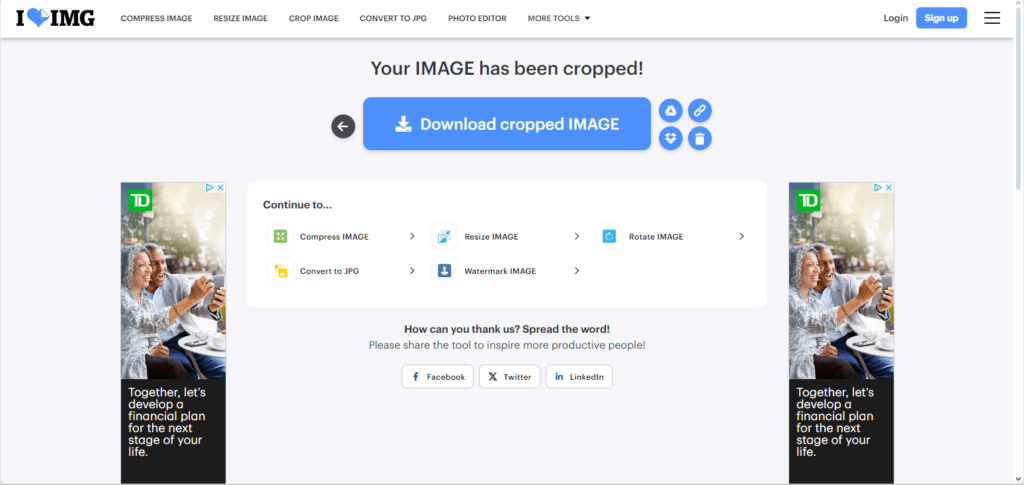
Start with uploading an image to crop it if parts of it are unnecessary.
Then resize it. To move onto the next tool with the cropped image, you don’t have to download and upload it. Just select the next action below the Download button.
You want to strike a balance between your images being smaller and lighter and being high quality. If you reduce the size too much and compress the image too much, it can look blurry or pixelated.
You want your images to be lossless, meaning they haven’t lost any quality, instead of lossy, meaning they have lost quality.
To accomplish this, for images that will cover the full-width of the screen, I recommend a width of about 1500px. For images that will take up half the width of a page, I recommend about 800px.
But play around and explore how small you can get your images without losing quality.
To accomplish this, for images that will cover the full-width of the screen, I recommend a width of about 1500px. For images that will take up half the width of a page, I recommend about 800px.
But play around and explore how small you can get your images without losing quality.
After you’ve resized it, then you can download it.
Convert to and Compress in the WebP Format
There are newer image formats than png and jpeg that browsers like Chrome, Firefox and Edge recommend websites use because these formats offer even further compression than JPEG and allow images to be delivered even faster.
In fact, Google itself introduced one called WebP, and in its website performance and speed test that it uses to determine rankings in search results, it gives better scores to websites using the WebP format.
Therefore, I strongly recommend that you convert all your edited JPEG and PNG images to WebP and compress those WebP files before uploading them.
Use this free website converter and compressor tool that allows you to upload images in bulk. Don’t worry about all the settings below; just click start to convert.
After you compress it, the tool will show you how much it reduced the file size by. You’ll be amazed at how big some of the original files were.
Also, make sure the quality is the about same as before the compression, which it should be, and experiment if not.
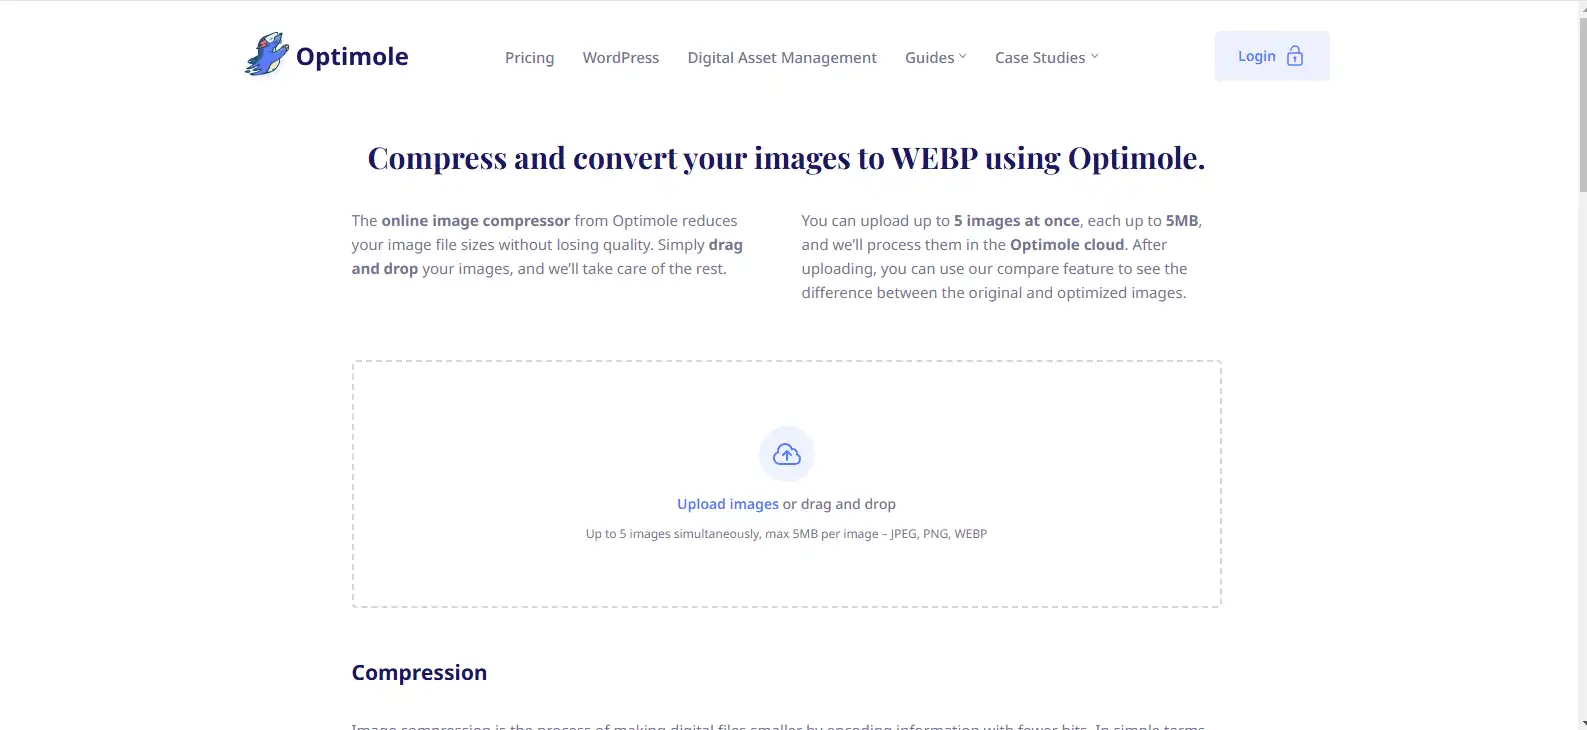
Here’s another free tool to convert and compress for WebP format as a second option.
Where to Find Stock Photos
Need stock photos to decorate your site? Here are a few of my favorite free libraries.
- Unsplash
- Pixabay
- iStock and BigStockPhoto have free trials
Make sure to replace all the default or dummy images, so your website looks different from the original template. But remember, unique images that feature you and your customers or ideal audience are best.
Important Note About Videos
Never upload a video directly to your website. Just like unoptimized photos, this will slow down your website. Insert them using URLs or embed codes.