
Day 19: Understanding Elementor Part 2: Containers & Responsive Editing
Adding & Editing Containers
Let’s scroll to the bottom above the footer to add new containers. Note that you cannot edit the header or footer because they are controlled by Astra settings in the customizer.
When you click the “+” sign, you’ll see a variety of layout options. The ones with multiple boxes actually have multiple containers within them, and each container can be styled differently than its sibling or its parent, allowing you a high degree of flexibility.
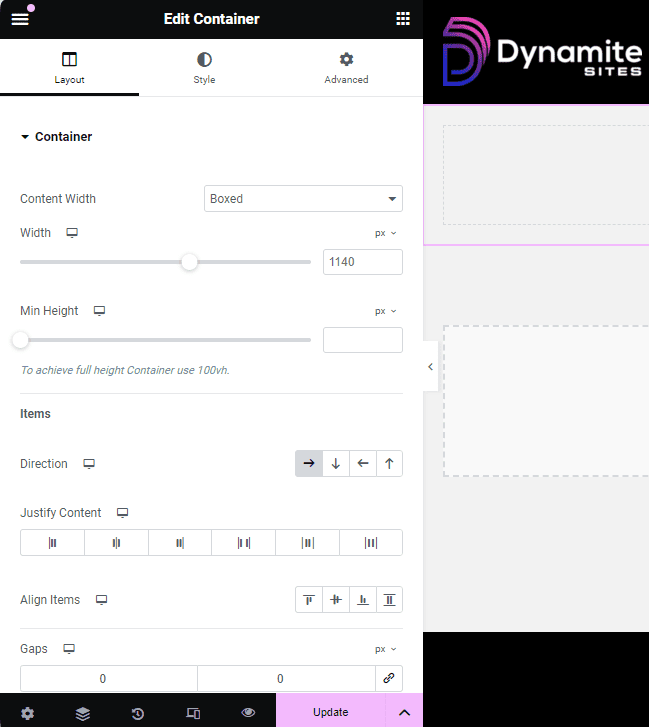
For each container, you can adjust:
- The width, by changing it to full width so that the background color or picture goes all the way to the edge of the screen
- The height, if you want the container to be have a certain amount of padding around the elements inside
- The direction of the items inside the container, if you want them to be side by side or stacked on top of each other
- The justification, to determine where they should be within the container
- The alignment, to determine if they’re placed left, right, or center
- And the gaps for the amount of space between the columns and rows that you have
Style and Advanced Settings
We’re still talking about containers, but most of the widgets have a lot of the same settings in the Styles and Advanced panels, so understanding these settings will help you with using Elementor as a whole.
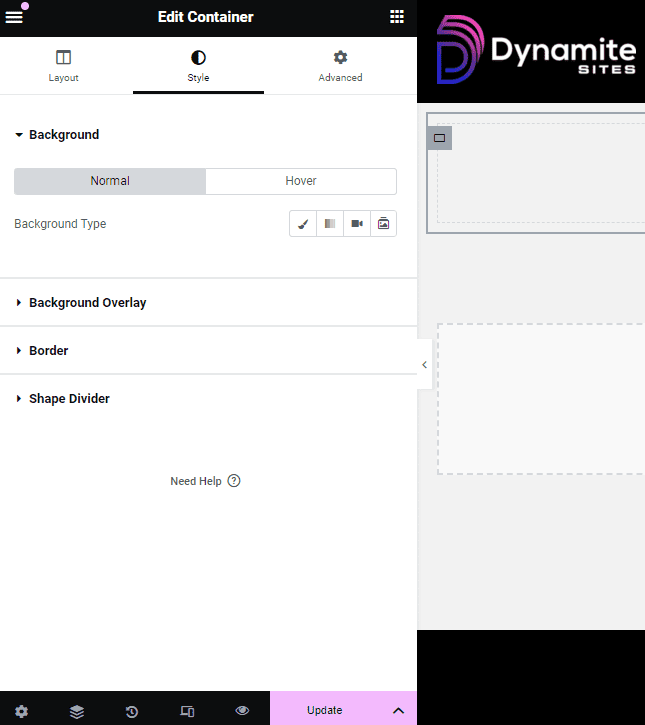
Background & Other Styling
Go to Container > Style, and you can add background colors, gradients, images and videos that will be behind the text or element you put in the container.
Background Overlay is the color that you put on top of your background, like the orange-red gradient on top of the background image in my page title example below.
You can add solid, dotted or other kinds of borders; you can round the corners of your boxes with Border Radius; and you can add Box Shadow to make the container or element appear like it’s coming off the page, partially three-dimensional.
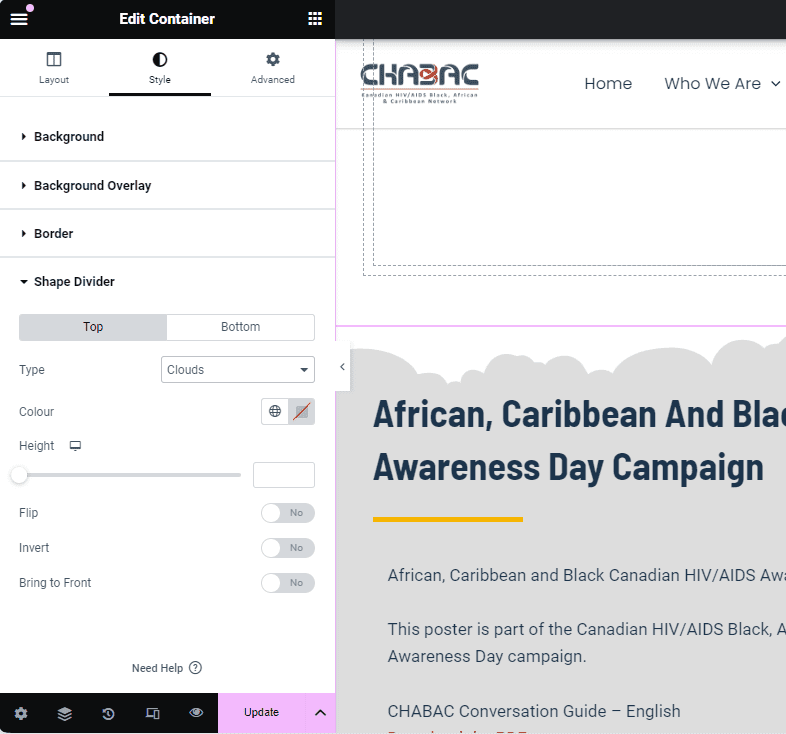
You can also add shape dividers to the top or bottom of your container, which break up the straight lines dividing each section by turning the container borders into waves, mountains, and more.
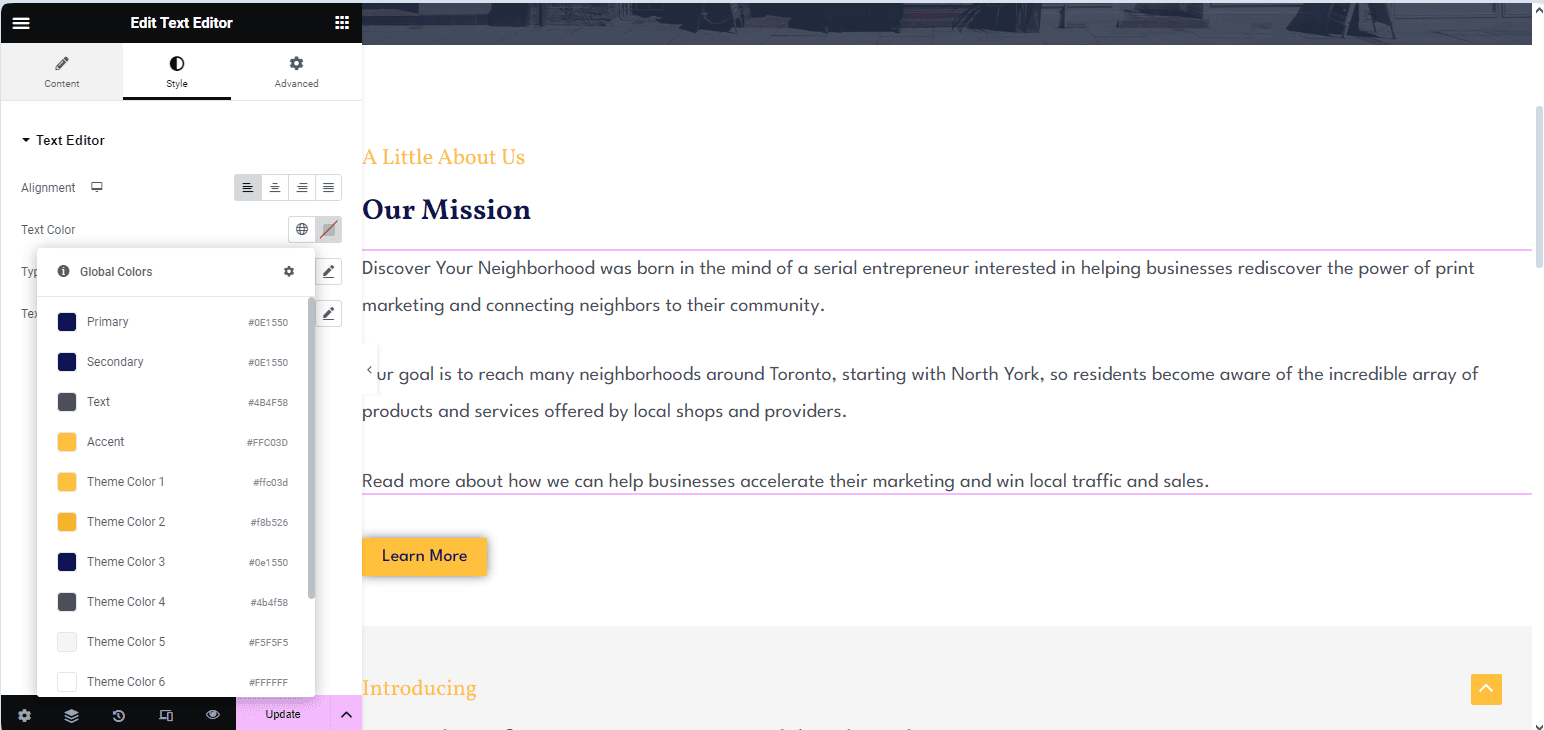
Global Colors in Elementor
NOTE: When you get to editing individual pages in Elementor, you’ll see a globe icon next to settings related to colors. When you click on the globe, you’ll see the colors you chose in the customizer through Astra available for you to click on. They’re the ones titled “Theme Color…”
That way, you don’t have to find, copy, and paste the color code each time you want to use it!
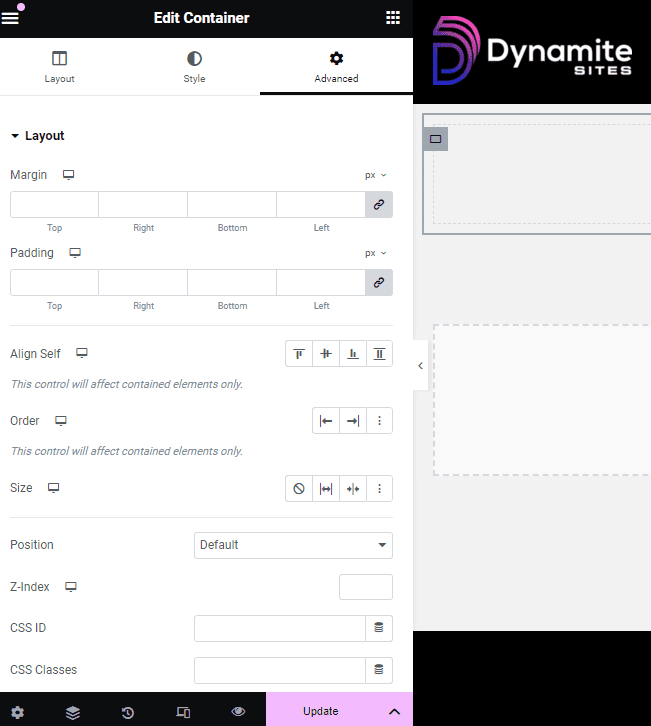
Margins & Padding
Under Container > Advanced, you can change the margins (the space around your container or element) or the paddings (the space inside around your container or element).
I’ll skip some of the rest of the settings under layout since you’re not likely to use them most of the time or at all.
Motion Effects
Under Advanced > Motion Effects, you can add animation, like making images fade in and, under Transform, you can rotate, scale or grow, flip elements and more including when a user hovers on them.
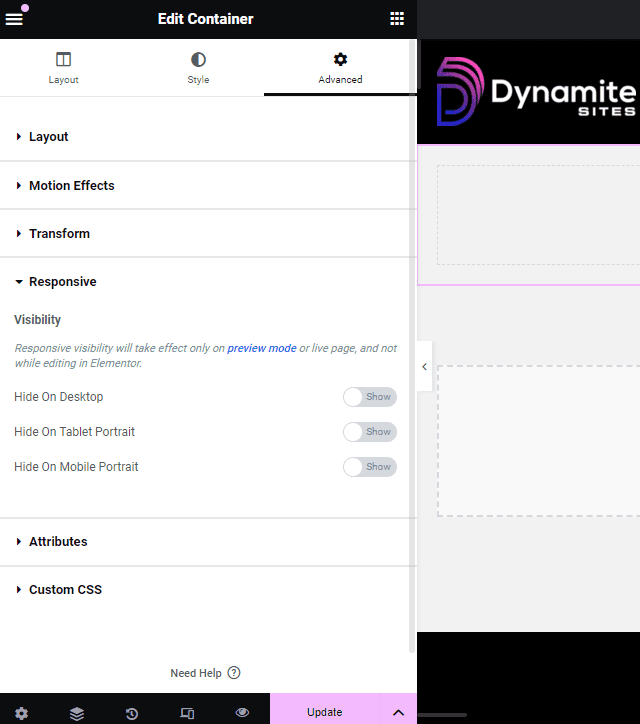
Responsive
Under Responsive, you can make containers or any widget invisible on certain devices. This can be good for creating a different layout for mobile or tablet.
For other widgets, there can be more settings under Advanced, like Mask for images where you can crop the image into different shapes.
That’s basically it for the more complex settings.