
Day 18: Understanding Elementor Part 1: Main Settings
Now, let’s open one of the pages created by the Starter Template you chose in Elementor or a brand new one if you want to experiment.
Adding a New Page
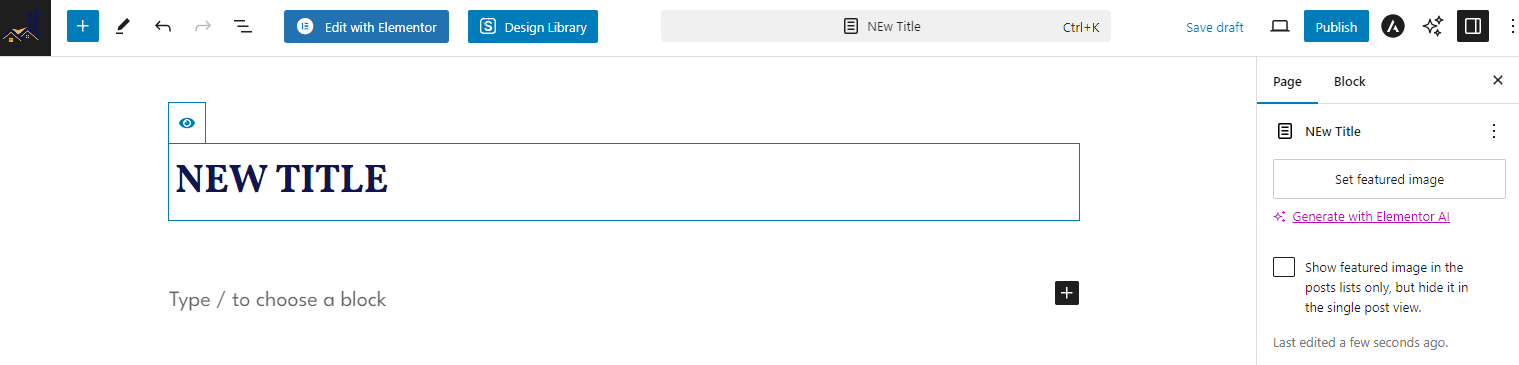
If you want to add a new page, go to Pages > Add New Page, and you’ll find yourself in the Block Editor first.
Give that page a title and then click Publish. Then click Edit with Elementor near the top left, or in Pages by hovering over the page you want to edit.
Open the page you want to edit, but let me explain all the settings and elements or widgets before you get started.
Tools and Settings
IMPORTANT: Below is an explanation of where to find the settings described in the video.

- Under the “E” icon with the white background, you’ll find the History, where you can undo or redo the changes you made in your current editing session or restore an older version of your page from a previous editing session. You can also exit to the WordPress dashboard or backend under the “E” icon.
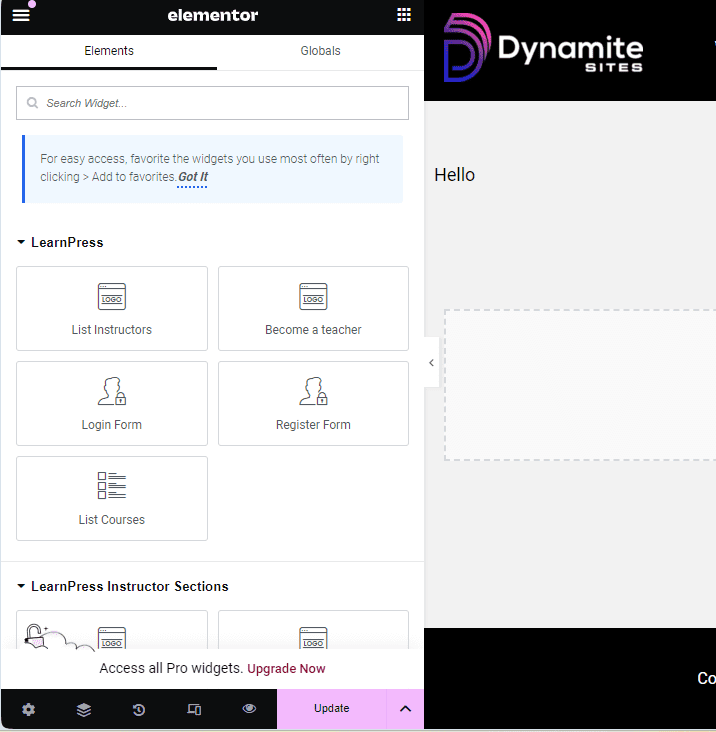
- The plus sign, which you can click to go the list of Widgets you can drag and drop into the page, like headings, images, etc.
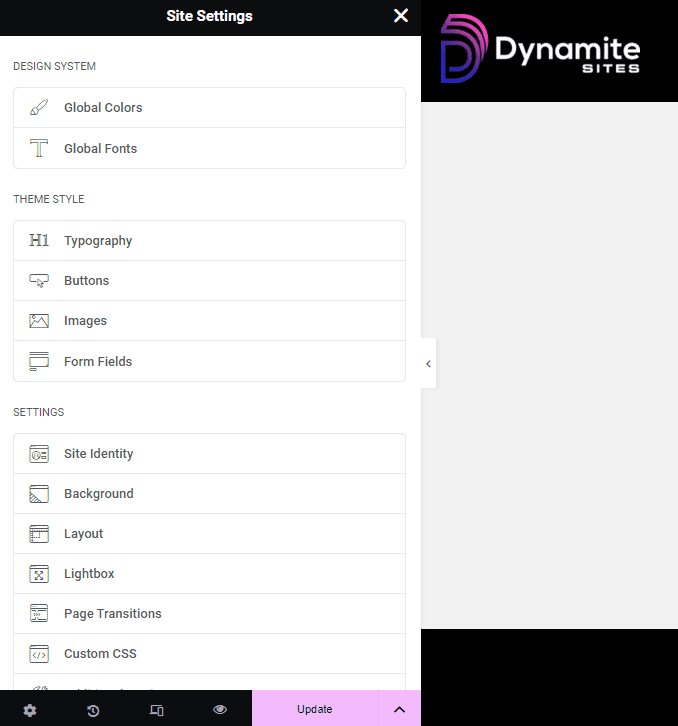
- Site Settings, which you don’t need to use since we’re using Astra to make global changes, not Elementor.
- Navigator or Structure, the list of all your containers or sections and the elements in them, so you can easily navigate to the different areas and content on your page.
- Pages, which allows you to easily click on the other pages you want to edit without having to leave the Elementor editing area.
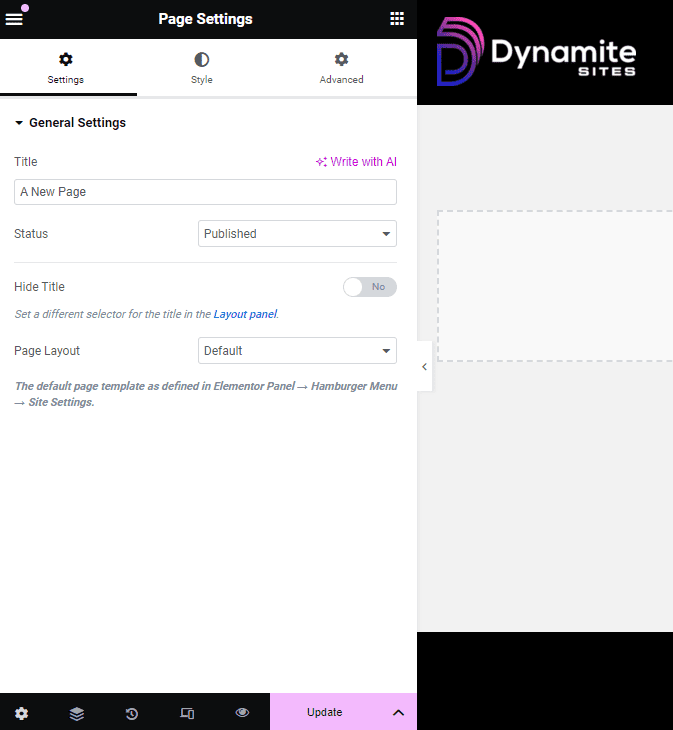
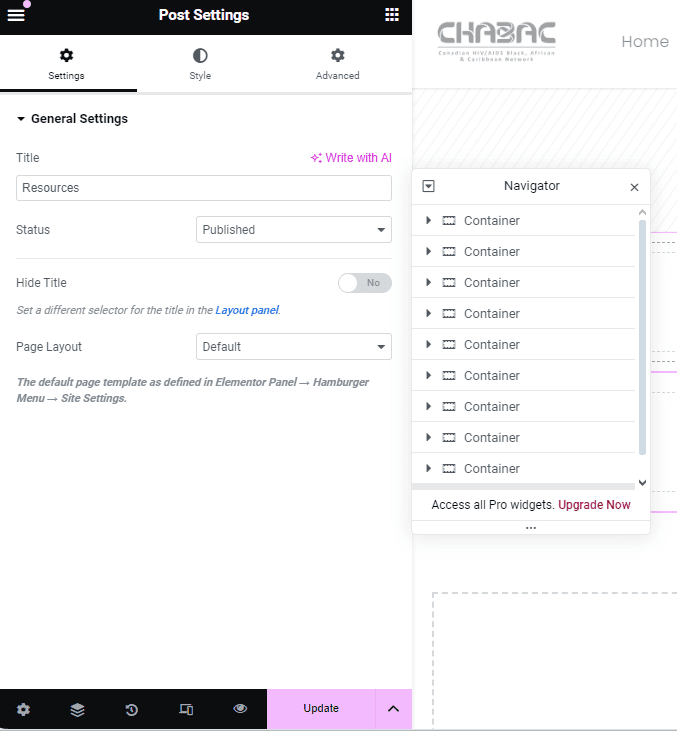
- Page Settings, where you can make changes to the page, like the title, background color, spacing, etc.
- Responsive Mode, where you can preview and change what the page looks like on the three different devices.
- Search, where you can look for text you wrote or elements across all your pages. Next to Search is Help, where you can click to find tons of articles on how to use Elementor.
- Preview, to see what your page looks like after you make any changes.
- Publish, to show your changes to users, but if you’re not ready for that, click on the pink down arrow, and click Save Draft. Save Template, the other option, allows you to save the current page as template for future pages you might create.
Widgets or Elements
In the lefthand panel under Elements, you can see all the different widgets or content sections you can add, and you have to purchase Elementor Pro to unlock them all. However, the ones under Basic and General are enough for our purposes.
You can get back to this section with all the widgets by clicking on the grid with nine boxes in the top righthand corner. Elementor is a drag-and-drop editor, so you can just add containers and widgets to the page that way.
Site Settings
If you click on the hamburger menu in the top lefthand corner, it’ll take you to the Site Settings. We’ve already decided our global settings through Astra in the customizer, which determine the whole look of the site because the theme settings override the page builder’s. So we don’t need to change anything here.
Go back to the Elements panel, and you’ll see the icon options at the very bottom next the Update button.
Page Settings
The gear icon takes to Page settings where you can edit the title, add a featured image, which can show up when the page link is shared, and other options we don’t need to worry about.
Navigator
The next icon is for the Navigator, essentially Elementor’s version of the block editor’s document overview. You can see all the elements in the page and rearrange and delete them there as well.
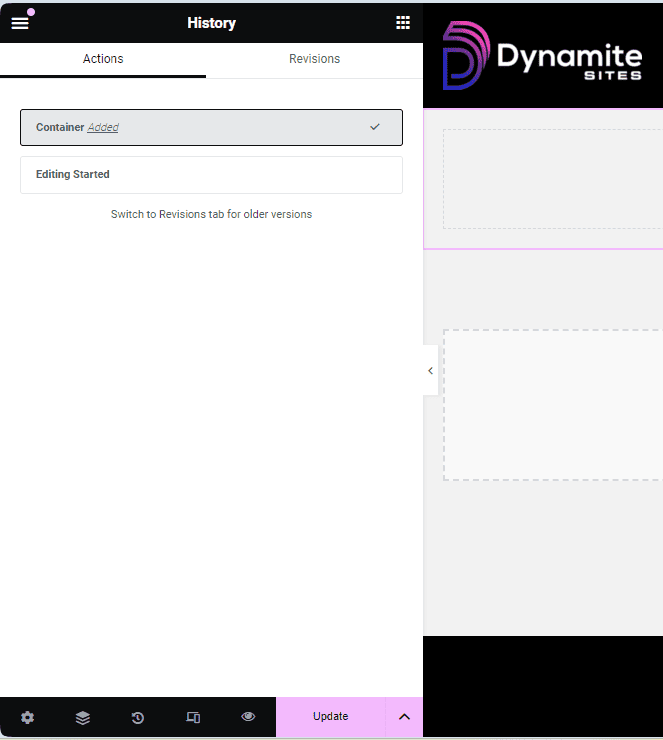
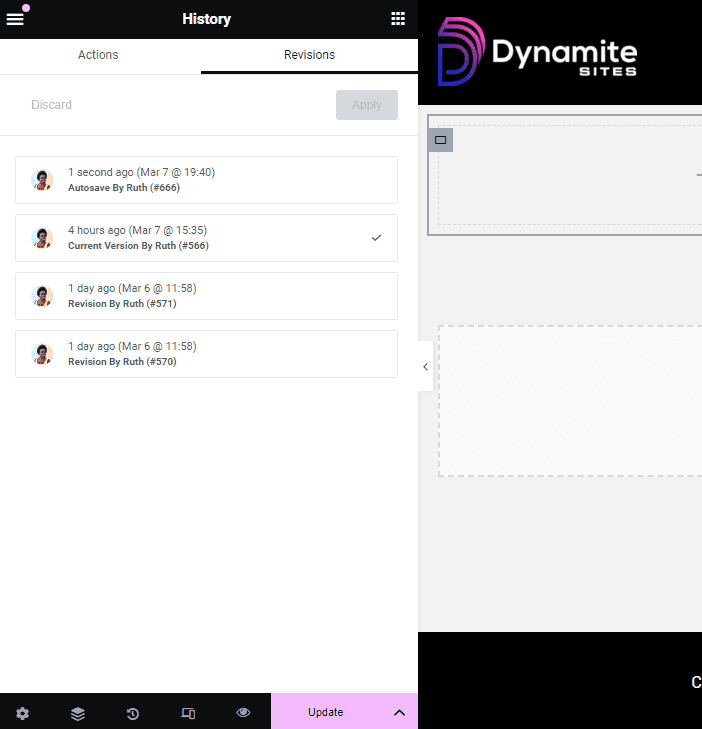
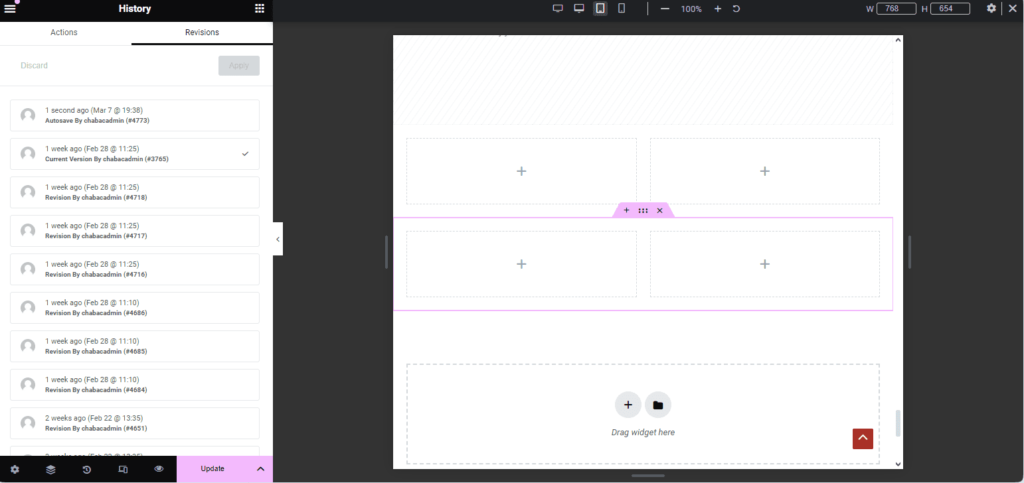
History
The next icon is for History, where you can go back to a previous change during your current editing session under Actions or go back to a previous version of the page before your current editing session under Revisions. So if you ever make a mistake and don’t know how to fix it, just go to Actions and reverse what you’ve done.
Responsive Mode
The next icon is for the Responsive Mode, which allows you to preview the page on different devices, and Elementor’s responsive editing mode is much more sophisticated than the block editor and highly accurate too. When you go to the tablet or mobile view, you can even expand the screen size by pulling with arrows on the edge to see how the page would look in tablet landscape or mobile landscape.
Preview
The last icon, the eye before the Update button, is for Preview. If you have the preview page open in one tab and the editing page in another, whenever you click Update, the preview page automatically reloads to reflect those changes.
You can also get a preview of the page while on the editing side by closing the Elementor panel by clicking the arrow in the middle.